Simulator
When you go to play your scene - it connects a Simulator instance. The simulator will remotely reflect changes made in the Viewport.
The Simulator lets you test and view project changes across different device viewport sizes and simulated real-world environments without needing to leave Studio. The Simulator works by running the 8th Wall AR Engine in realtime on top of the included collection of pre-recorded AR sequences. You may open as many Simulator instances as you want, allowing you to test project changes across a diverse range of scenarios. The Simulator has a number of playback controls and convenience features like:
- Play bar, scrubber and in/out handles: Allow you to set up loop points, giving you granular control over the selected sequence.
- Recenter button (lower right): Recenters the camera feed to its origin. NOTE: Recenter is also called each time the sequence loops and each time a new sequence is selected.
- Refresh button (top right): Refreshes the page, retaining cached content. Holding SHIFT and clicking the refresh button will perform a full reload, ignoring any cached content.
You can simulate your experience across a range of different AR sequences that let you test Face Effects, Hand Tracking, World Effects, Absolute Scale, Shared AR, and more. An AR sequence includes both video recording data and device gyroscope or orientation recorded data so that you can simulate AR. Use the bottom left Sequence Selection menu to change the AR sequence. You can use the carousel to switch between options in the sequence category. Pausing the sequence only pauses the video, allowing you to test changes at the same frame. Drag the playback handles to set in/out loop points.
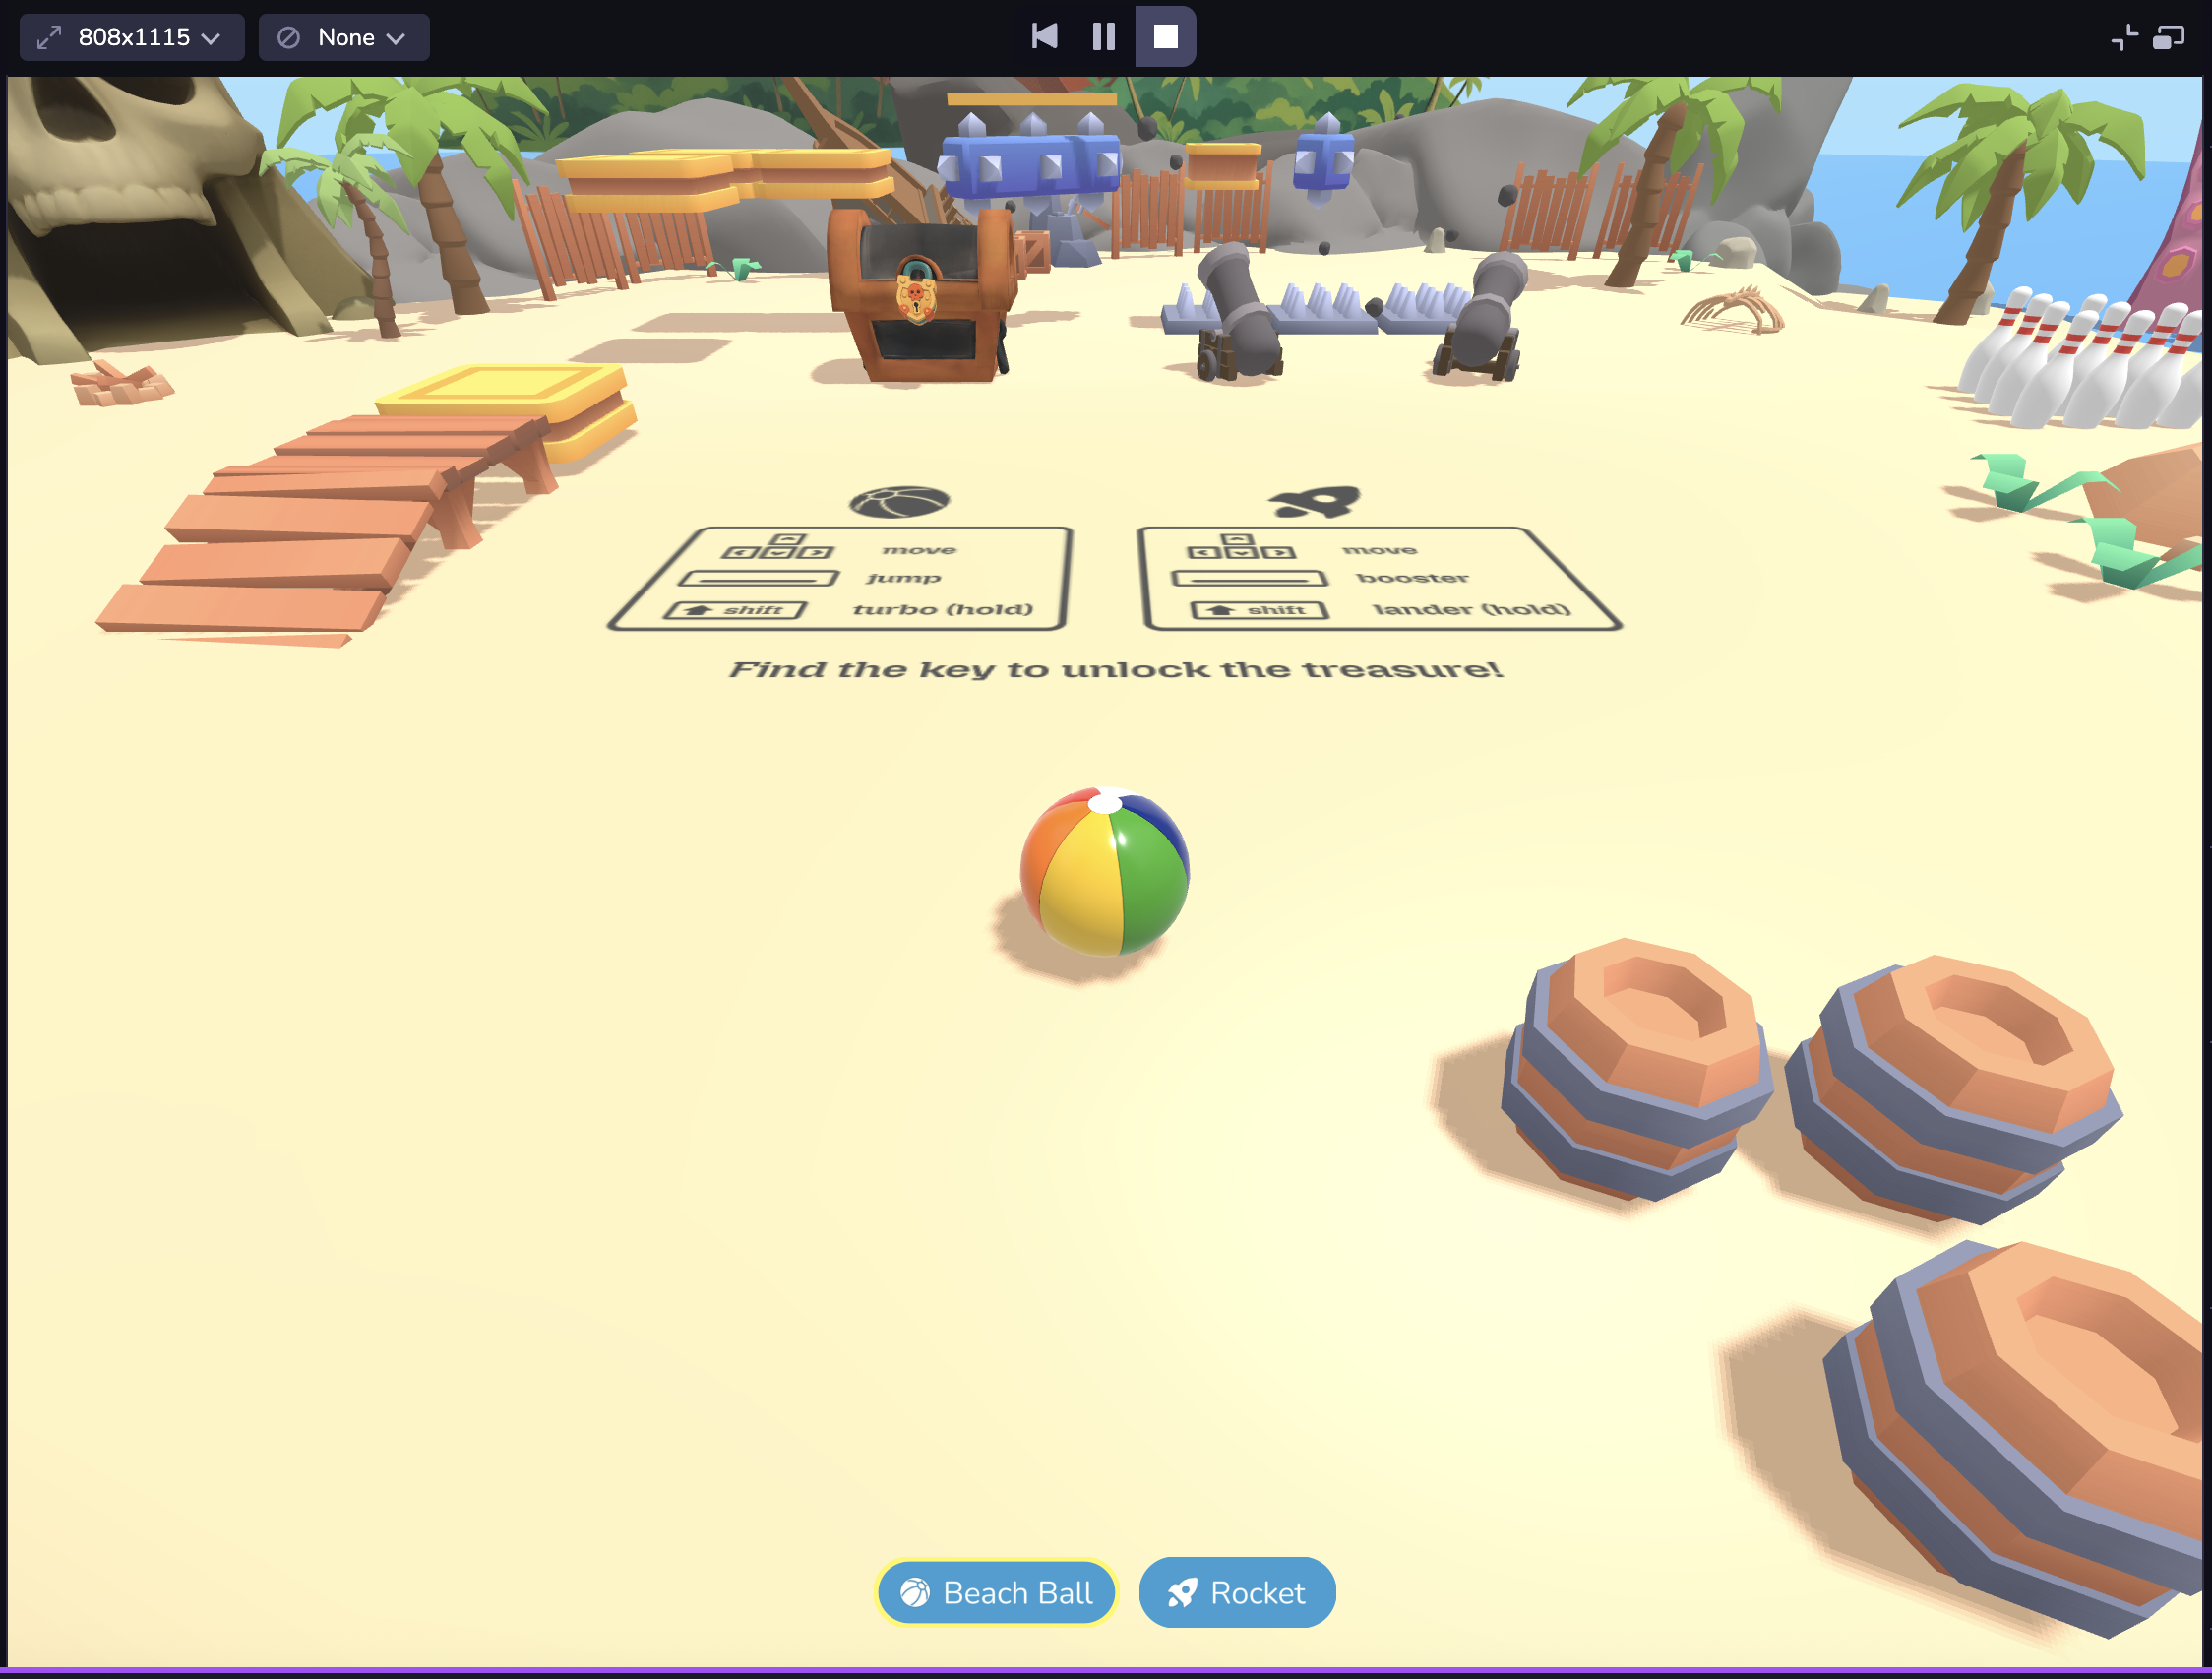

Live View follows the same logic as your project's camera configuration, allowing you to simulate your project using the feed from your desktop instead of a pre-recorded AR sequence. For example, if your project uses Face Effects and you have the Studio project open on desktop, it will open your desktop camera. Note: Live View in the Simulator may prompt you to enable camera, microphone, or location permissions depending on what is enabled in your project. Click Allow for permission prompts in order to see your experience in Live View.
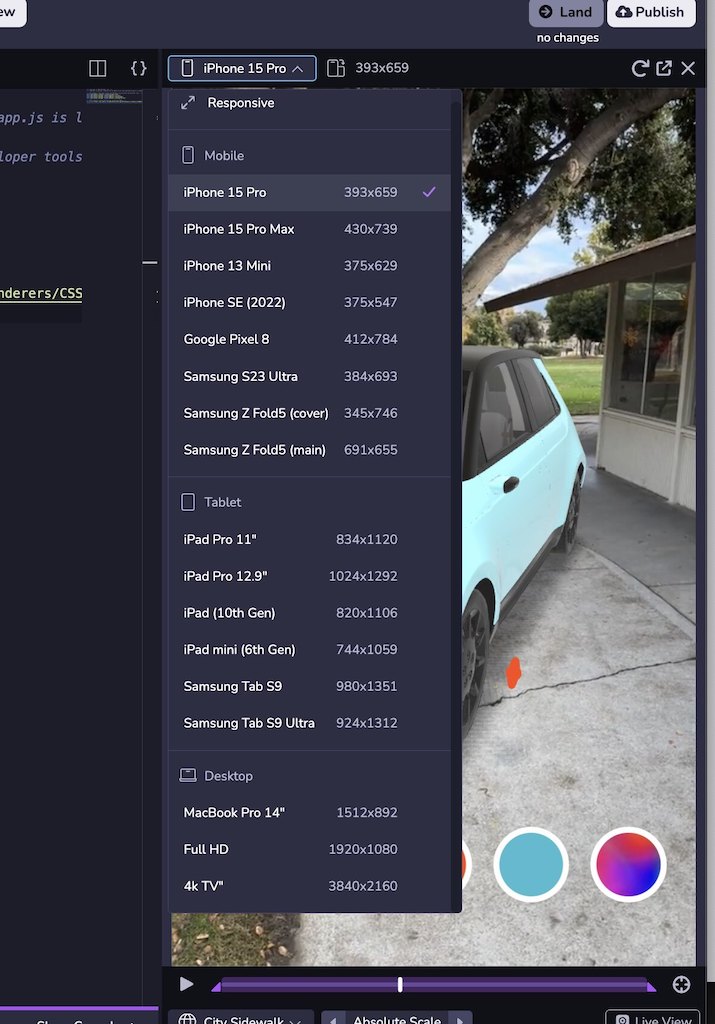
Your project might look different on different devices due to differences in the mobile web viewport size. Or you may want to see your project in both landscape and portrait mode. At the top left of the Simulator, you can choose from a set of common device viewport sizes, change the orientation, or use responsive mode to adjust to a custom size. You can also double click the edges of the Simulator panel to automatically fit the Simulator to the width of the selected device viewport. Note: Dimensions are presented in CSS logical pixels (AKA viewport dimensions), not physical device pixels. When selecting a device from the selector, only the viewport dimensions will be updated, not the user agent of the client.
Connect a Device
-
At the bottom the Studio window, click the Connect Device button.
-
Scan the QR code with your mobile device to open a web browser and open a live preview of the project.

Note: The "Preview" QR code is a temporary, one-time use QR code only meant for use by the developer while actively working on the project. This QR code takes you to a private, development URL, and isn't accessible by others. To share your work with others, please see the section below on Publishing your project.