Navigating the Interface
Studio features a rich editor interface made up of a number of different tools and views, each of which are essential when developing your project.
The sections below showcase the main Studio editor interface elements, with the fundamental features highlighted.
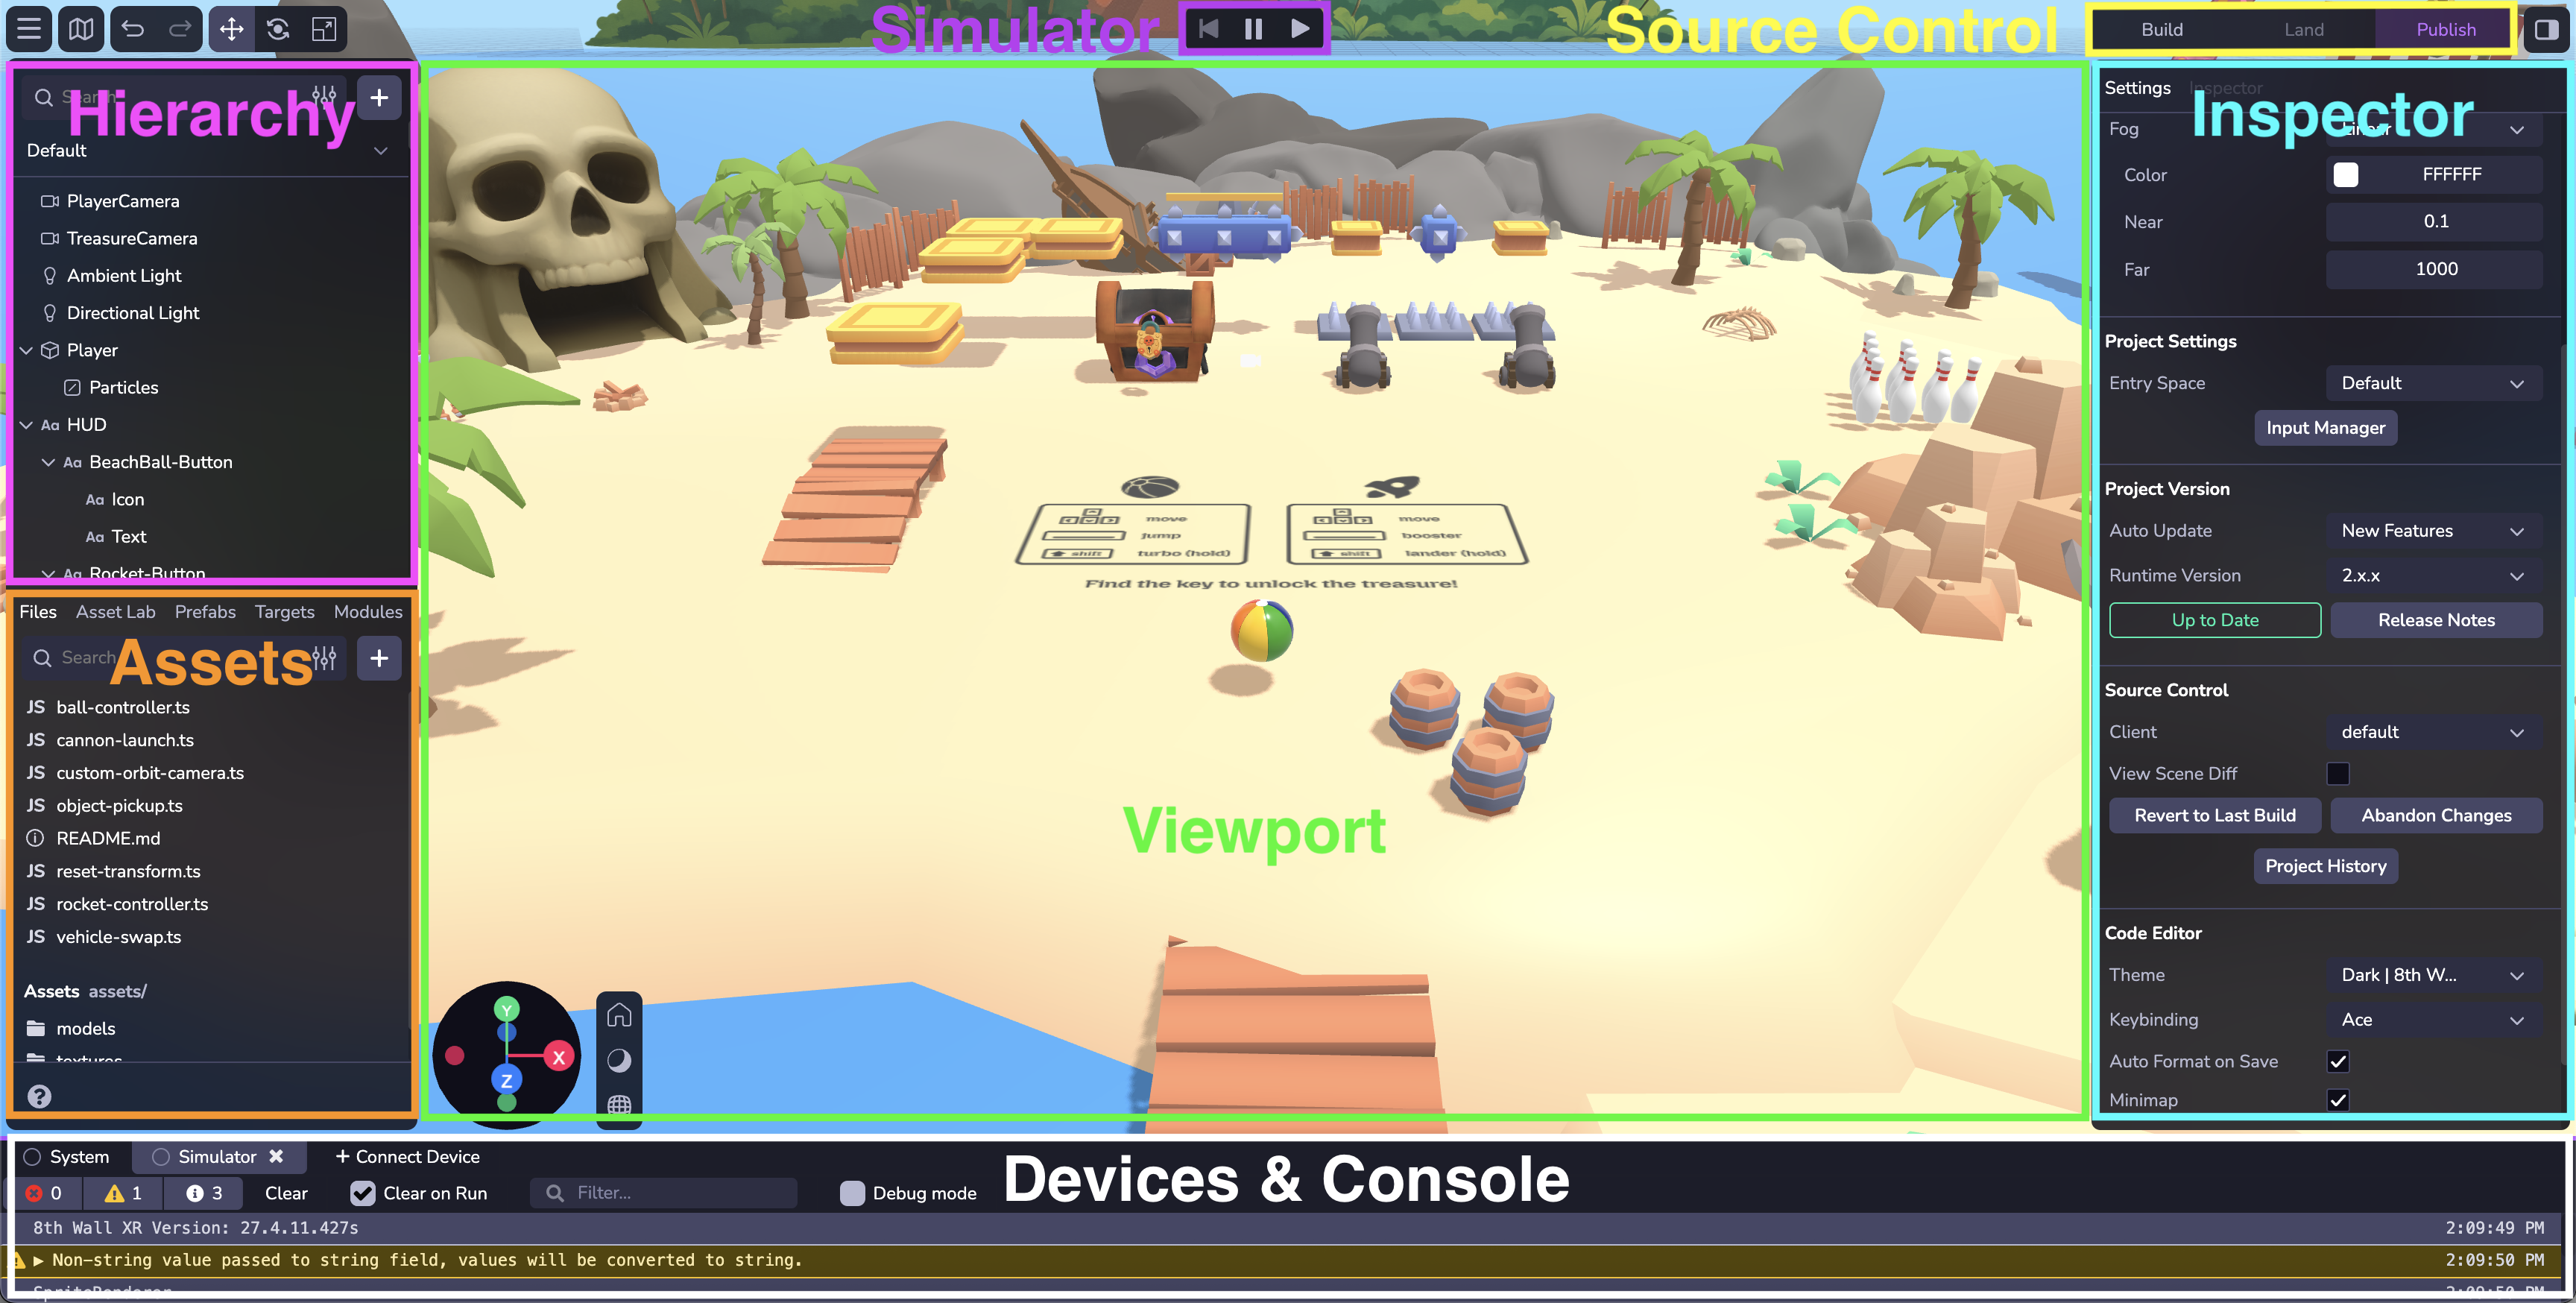
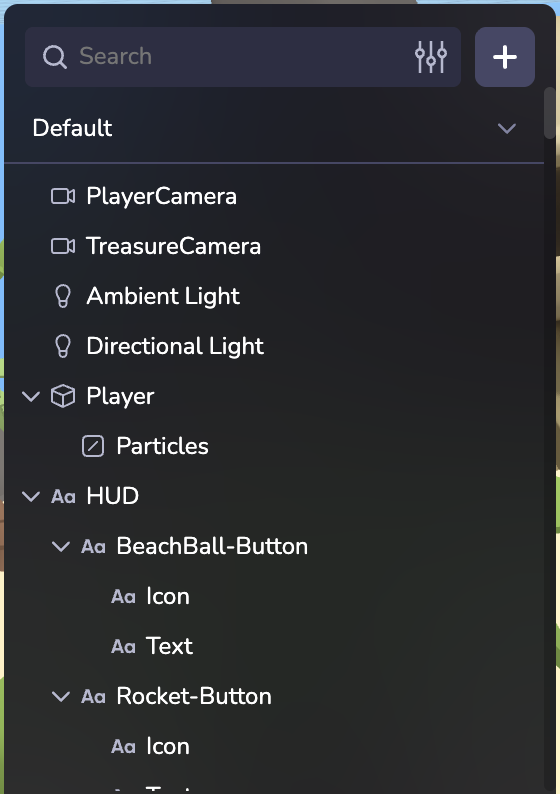
Hierarchy
View the entities and objects included in the space, and change their nesting. You can reparent or unparent the object by clicking and dragging it to another position in the hierarchy. Right click to duplicate or delete objects. Add new objects to your space. Search and filter for different objects.
Assets
Files & Assets can be managed from the lower left panel.
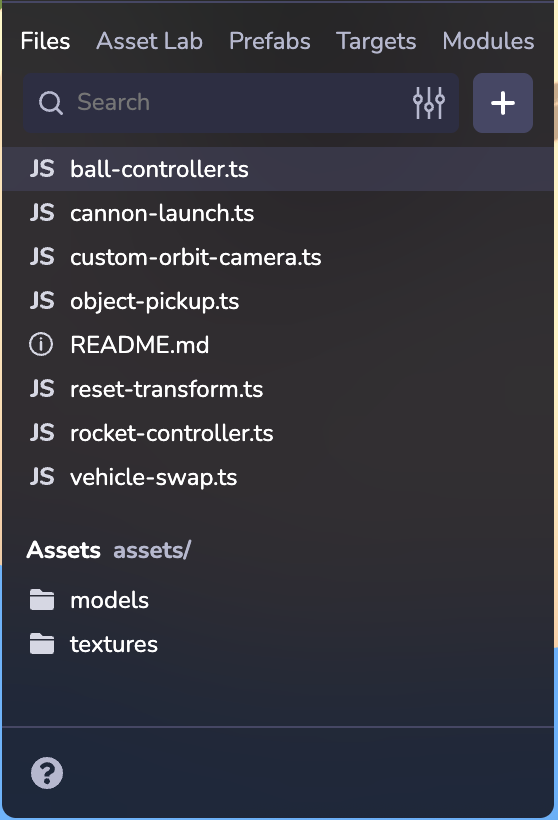
Files
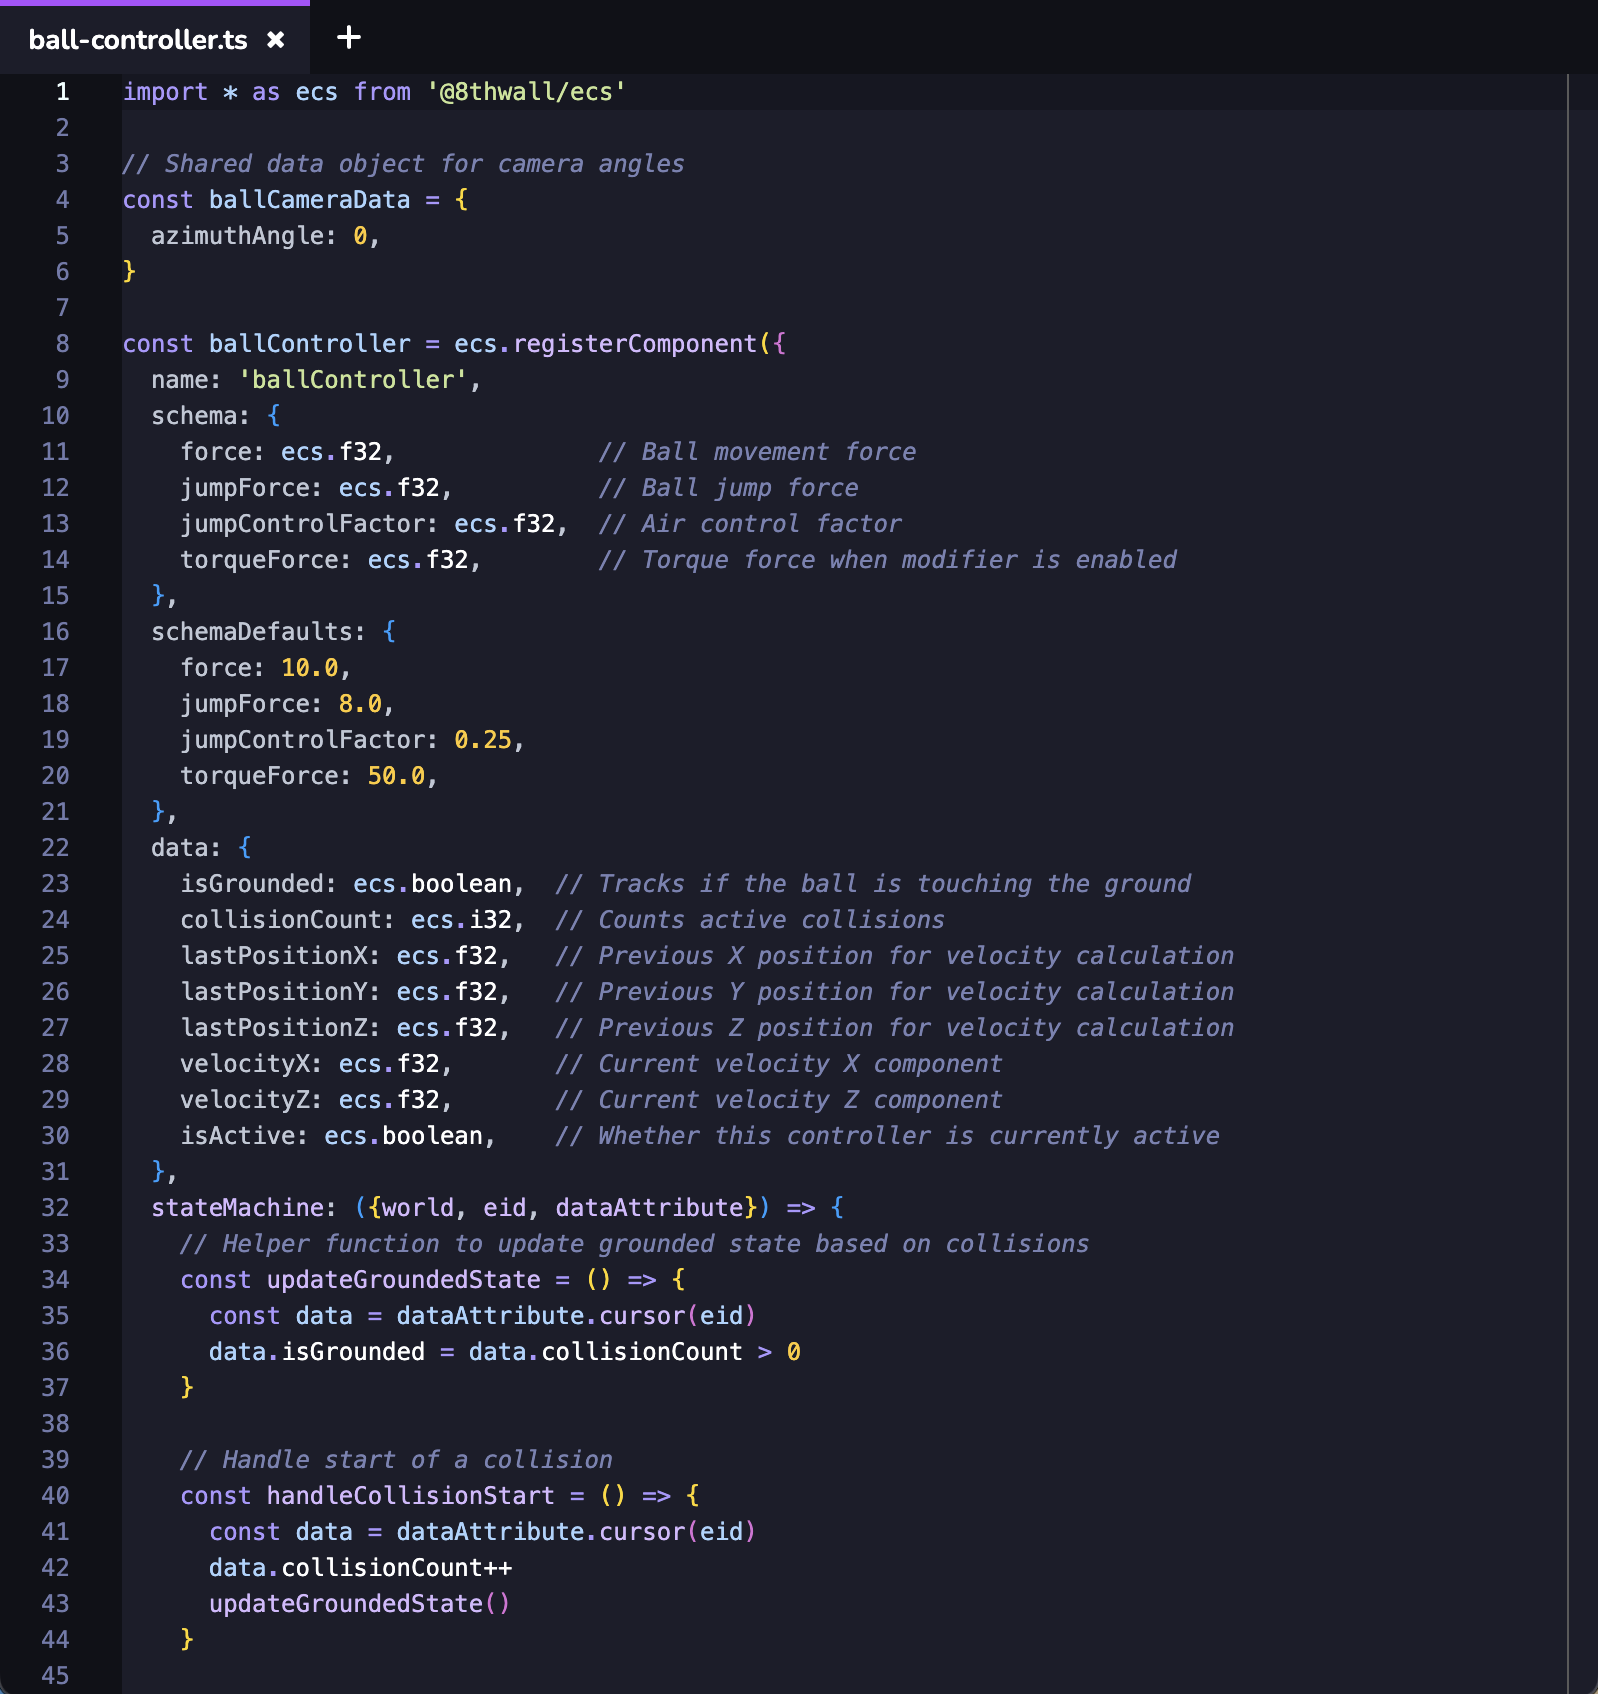
Upload your own 3D models, 2D images, audio files, custom scripts and more. Create folders and drag files to reorganize their placement. You can also drag and drop an asset into the Viewport or the Hierarchy to add the entity into your scene. To learn more about using and optimizing 3D Modules in GLB/GLTF format please see Your 3D Models on the Web.
Asset Lab
Generate images, 3D models, and animated and rigged characters with Asset Lab and access your Asset Lab library to easily import assets to your project. Learn more about Asset Lab.
Prefabs
Create reusable, customizable game templates that streamline and scale your development. Learn more about Prefabs.
Targets
Upload and manage project Image Targets. Learn more about Image Targets.
Modules
8th Wall Modules is a powerful 8th Wall feature designed to dramatically increase the efficiency of project development. 8th Wall Modules allow you to save and reuse components (code, assets, files) within your Workspace and also find and import 8th Wall created Modules into your project. Learn more about 8th Wall Modules.
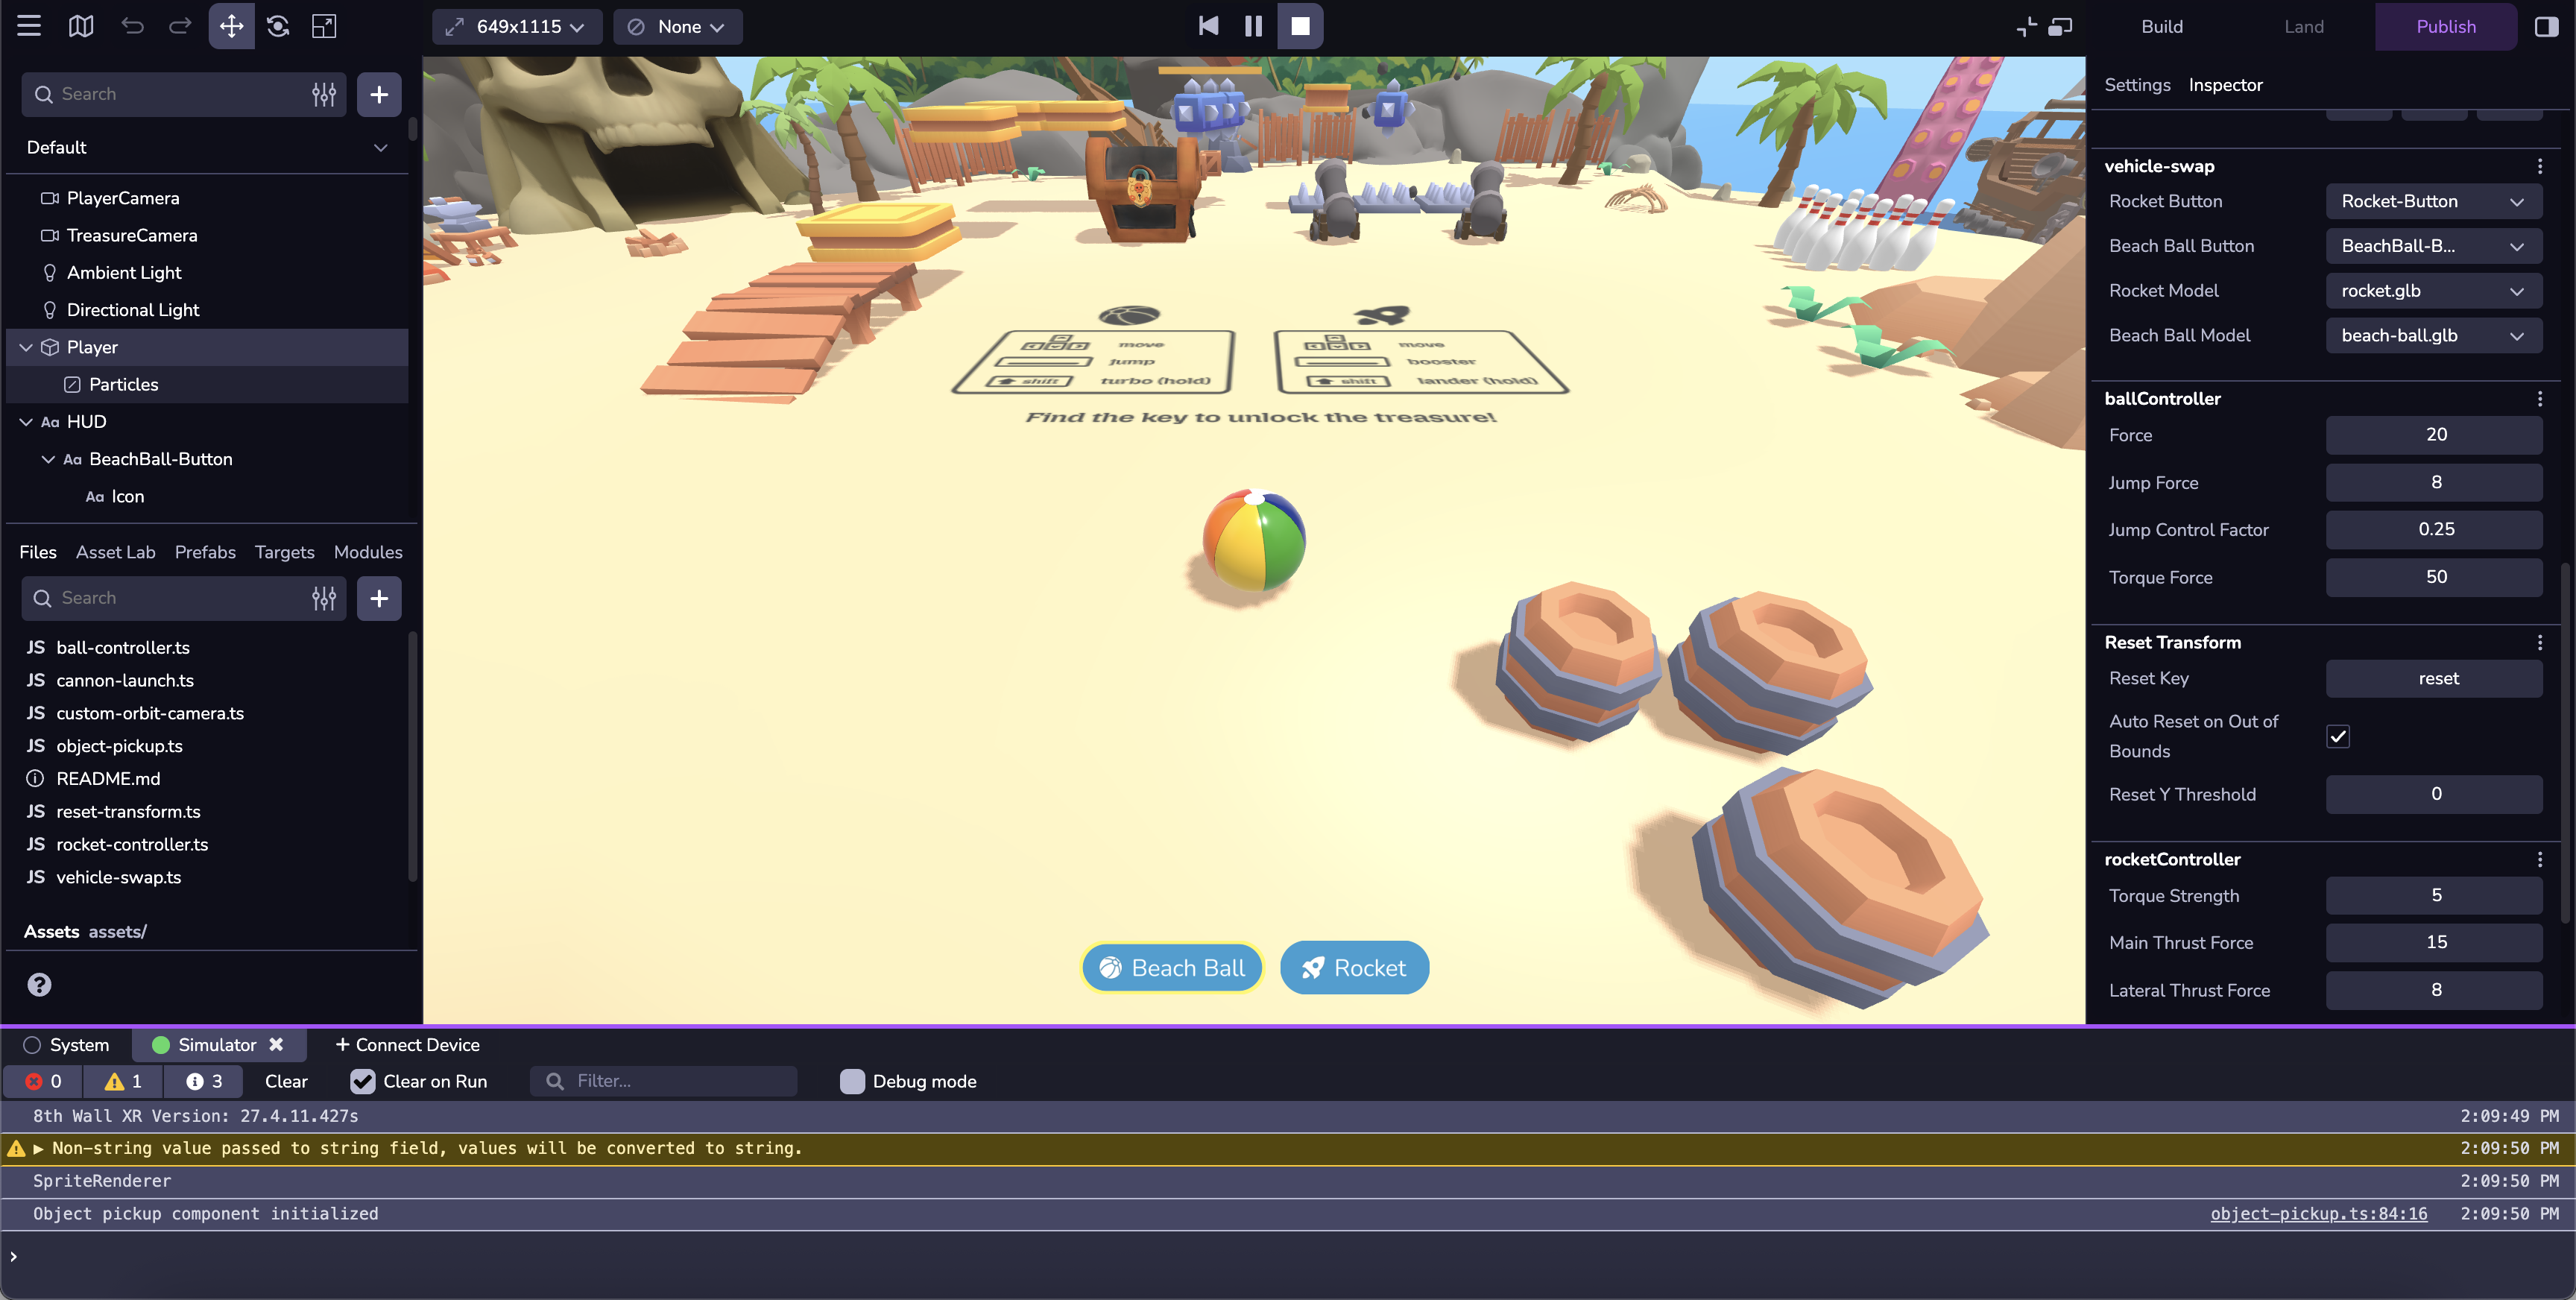
Viewport
Add, position, update, and work with objects and lighting in the space. Use the lower perspective gizmo to change the view of the scene, change lighting and shadow visibility, and switch from orthographic to perspective view. Use the top toolbar to change the position, rotation, or scale of a selected object, or to undo and redo edits.
Shortcuts
| Function | Keyboard Shortcut |
|---|---|
| Camera Orbit | ⌥ Left Click+Drag |
| Camera Pan | ⌥ Right Click+Drag, Right Click+Drag, Middle Click+Drag |
| Camera Zoom | Scroll Wheel |
| Focus on Selected Object | F |
| Translate | W |
| Rotate | E |
| Scale | R |
| Hide/Show UI Layer | ⌘\ |
| Delete Object | Delete |
| Duplicate | ⌘D |
| Copy Object | ⌘C |
| Paste Object | ⌘V |
| Undo | ⌘Z |
| Redo | ⌘⇧Z, ⌘Y |
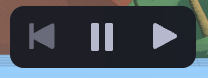
Simulator
Launch the simulator to play your scene. You can make edits to the entities in your space and see those immediately reflected in the simulator. The simulator also lets you test and view project changes across different device viewport sizes and simulated real-world environments without needing to leave Studio.
If you're developing AR, you can access a collection of pre-recorded camera sequences. The AR Simulator has a number of playback controls and convenience features like:
- Play bar, scrubber and in/out handles: Allow you to set up loop points, giving you granular control over the selected sequence.
- Recenter button (lower right): Recenters the camera feed to its origin. NOTE: Recenter is also called each time the sequence loops and each time a new sequence is selected.
Launch Toolbar
Studio will automatically save your progress as you work on a project, however, key stages in development can be marked by manually building your project, landing your changes as commits, and publishing your project.

Build: Click Build to save your work and initiate a new cloud build of your project.
Land or Sync: Once satisfied with your changes, land the updated code into Studio's integrated source control. At the top-right of the Studio window, click Land. The button will be green, indicating that there are changes in your project that have not yet been landed into source control. "Sync" indicates that your project is not up to date with the latest landed changes in source control (example: another team member has landed project changes into the source control).
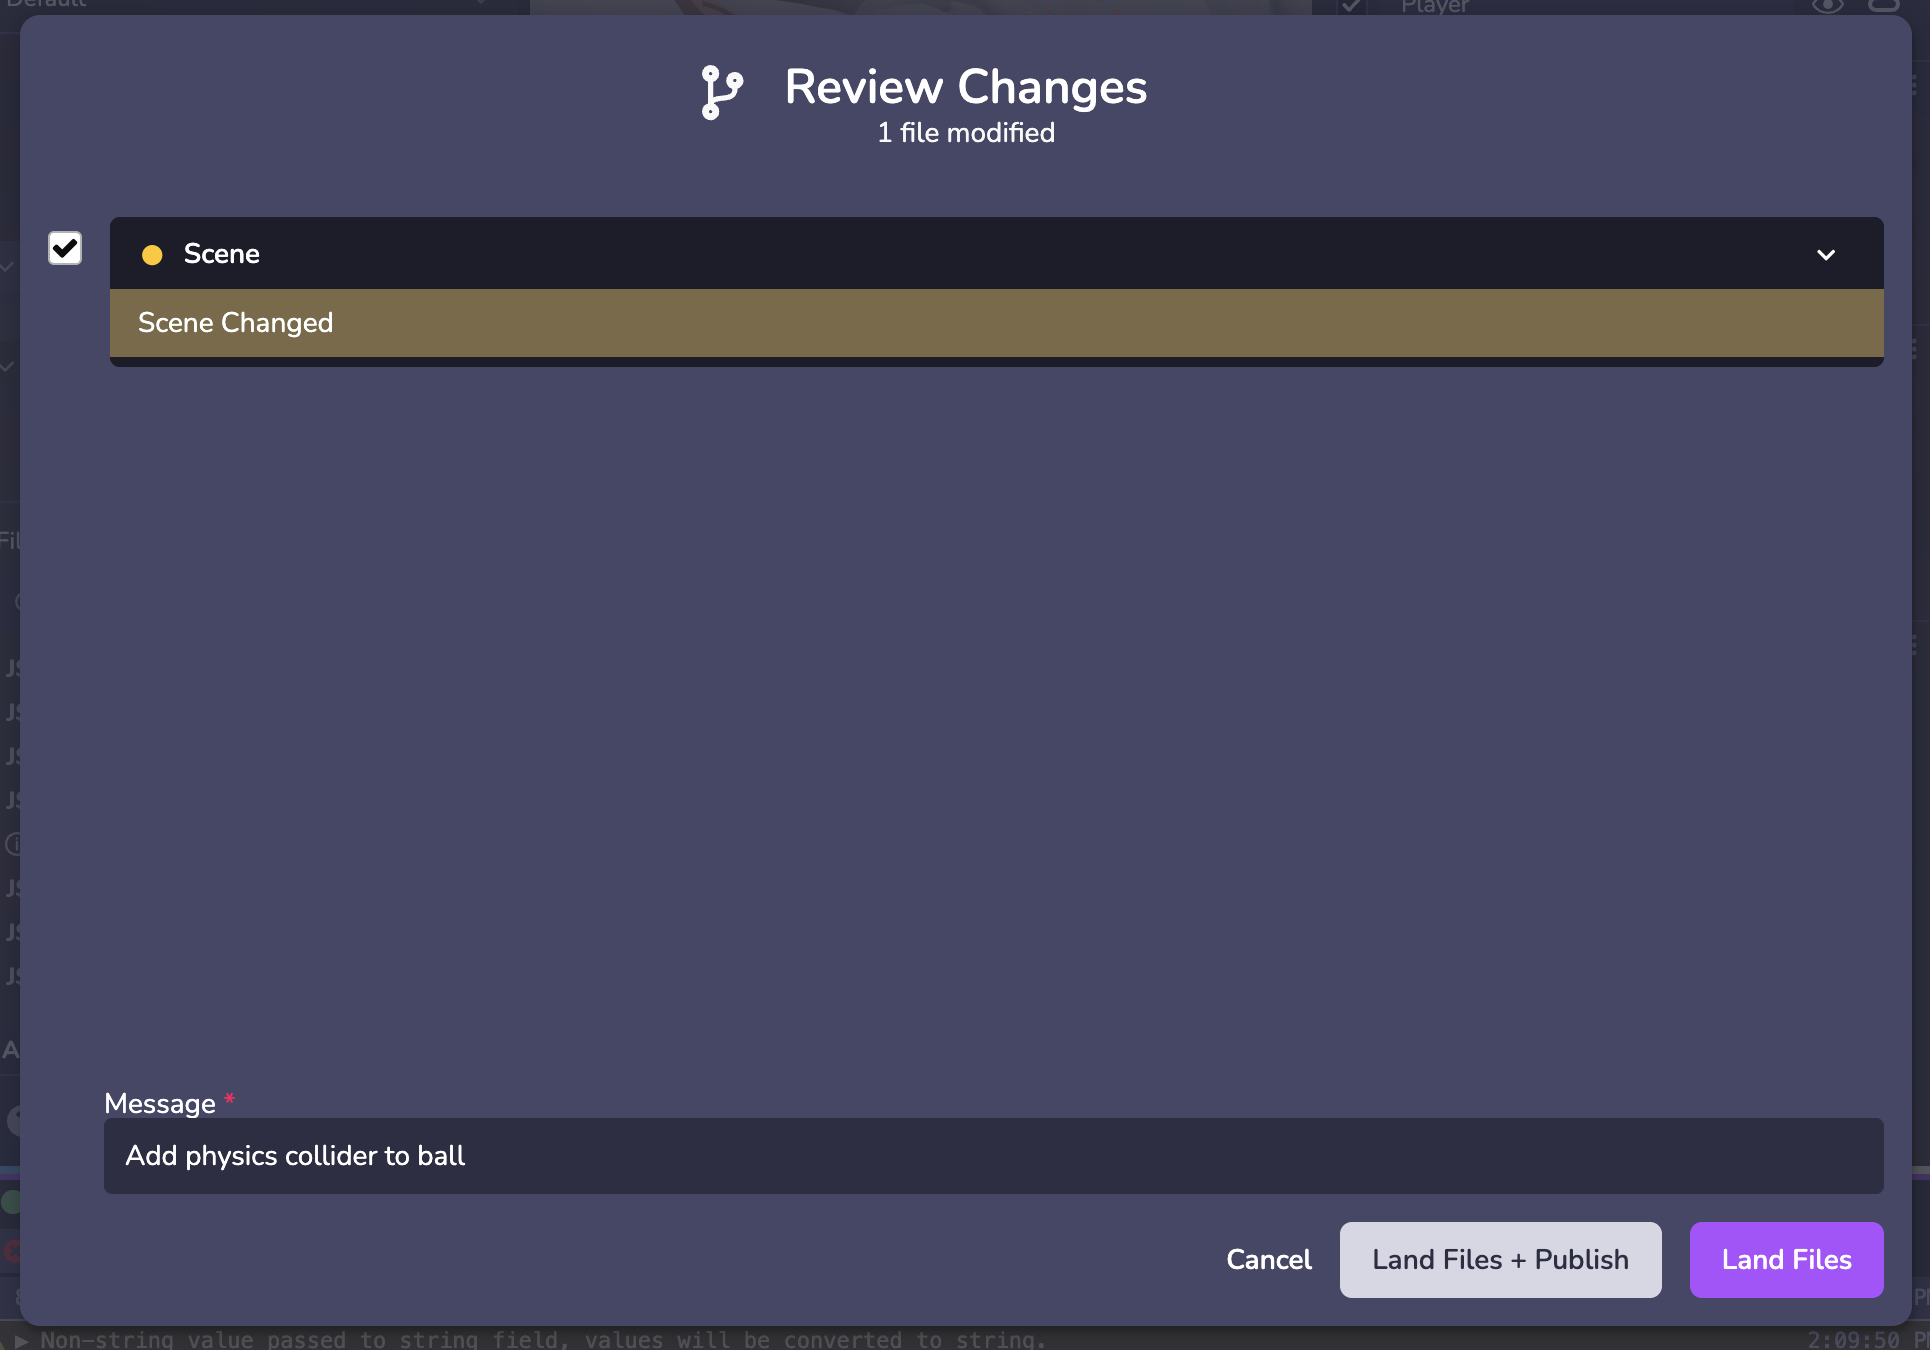
Publish: The final step is to publish your updated and landed project code using 8th Wall's Built-in Hosting. Public allows the project to be viewed publicly by anyone on the internet. Staging allows those with a passcode to view your project.
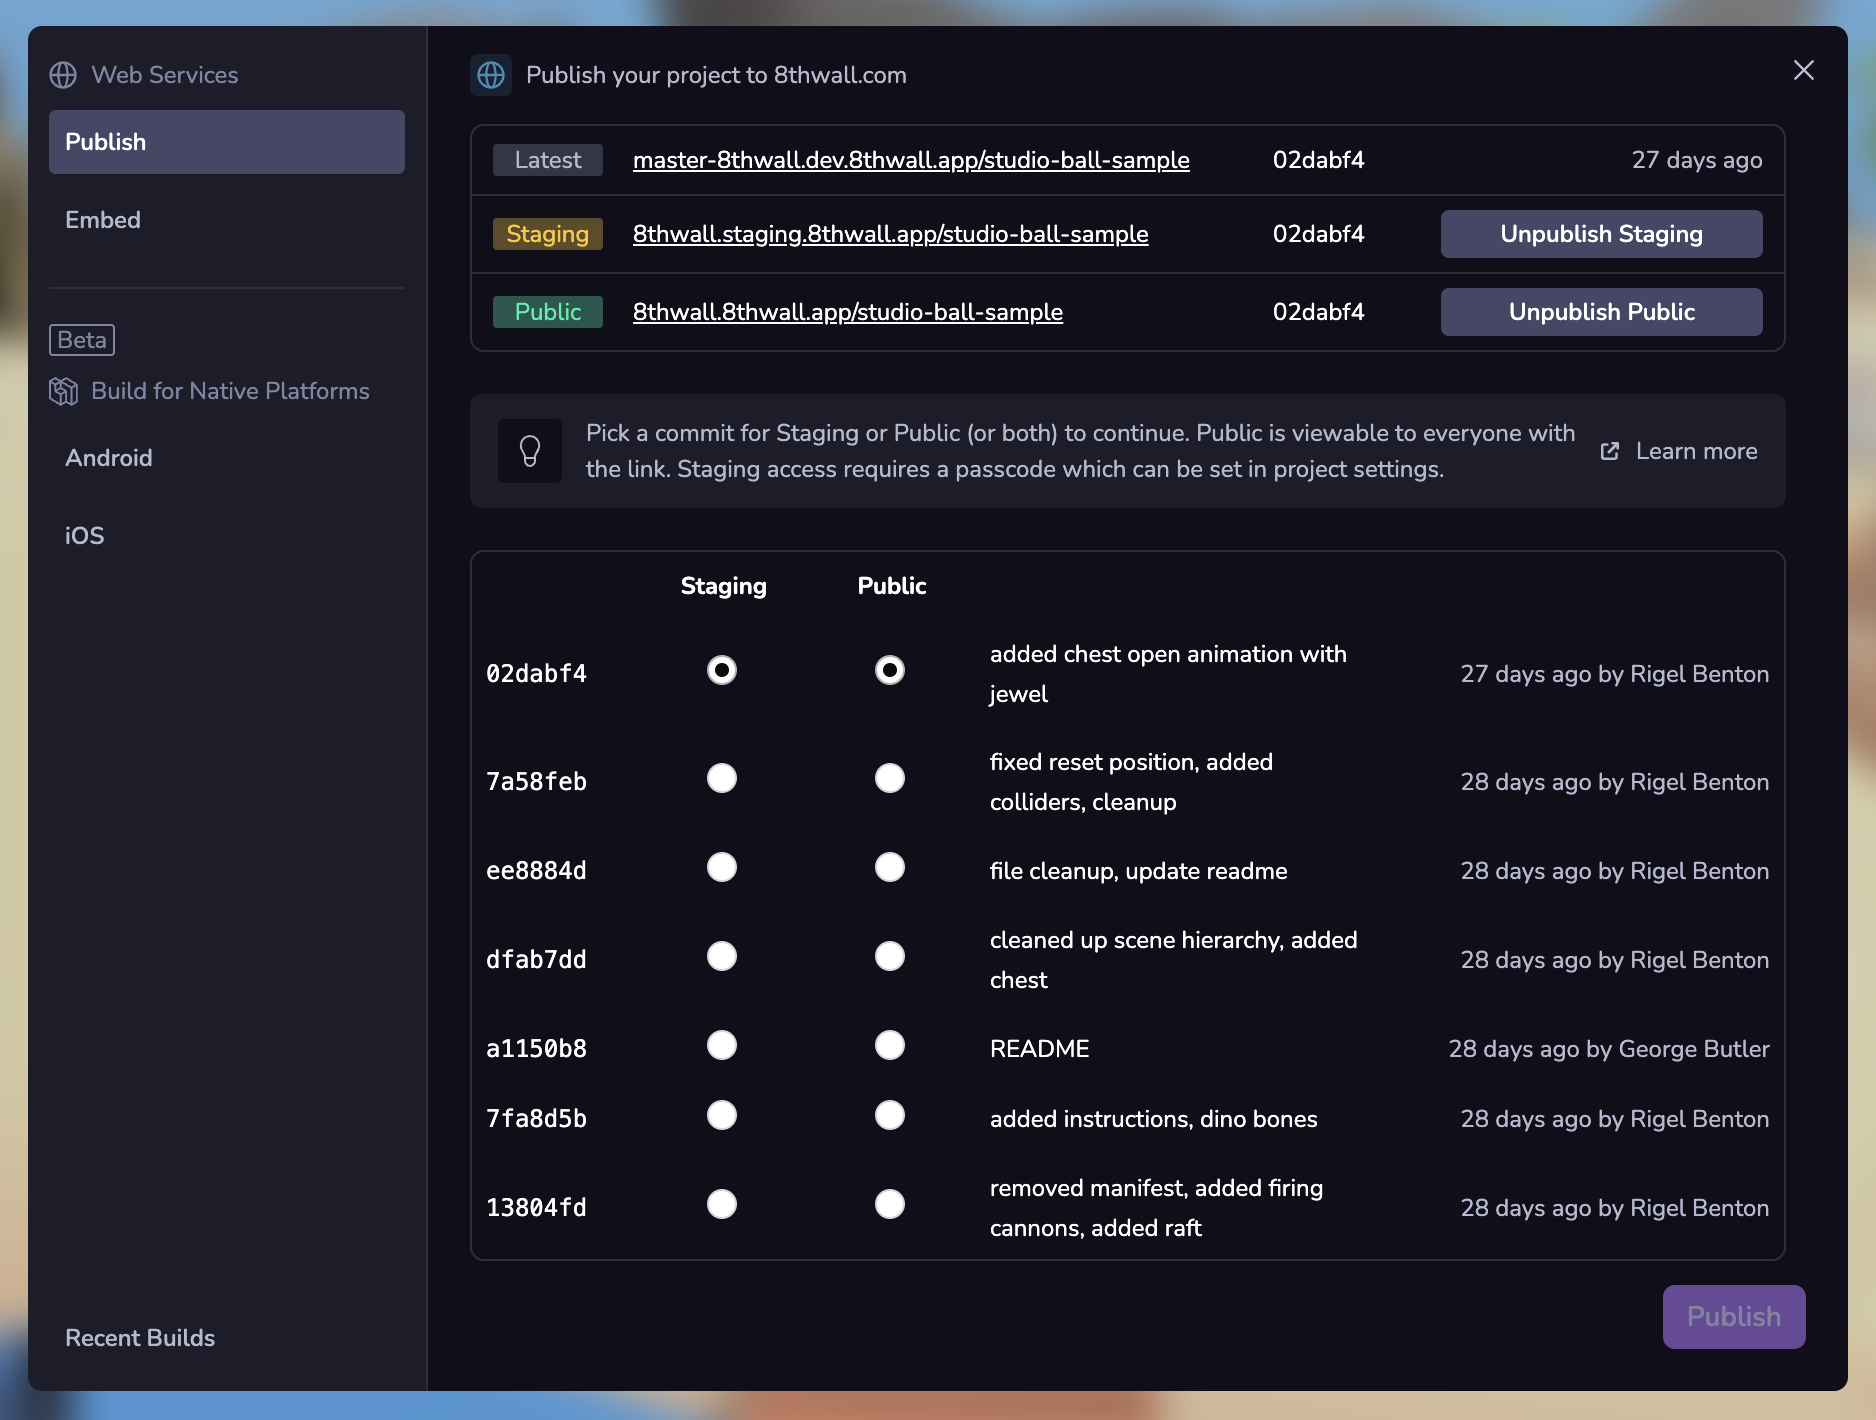
Once you are ready to publish your project you will need a description and cover image. To learn more about featuring a project for public viewing please see the Publish your project section.
Settings & Inspector
View and configure object-specific components, as well as adjust overall settings for the editor.
Space Settings
When no entity is selected you will see general settings for your project.
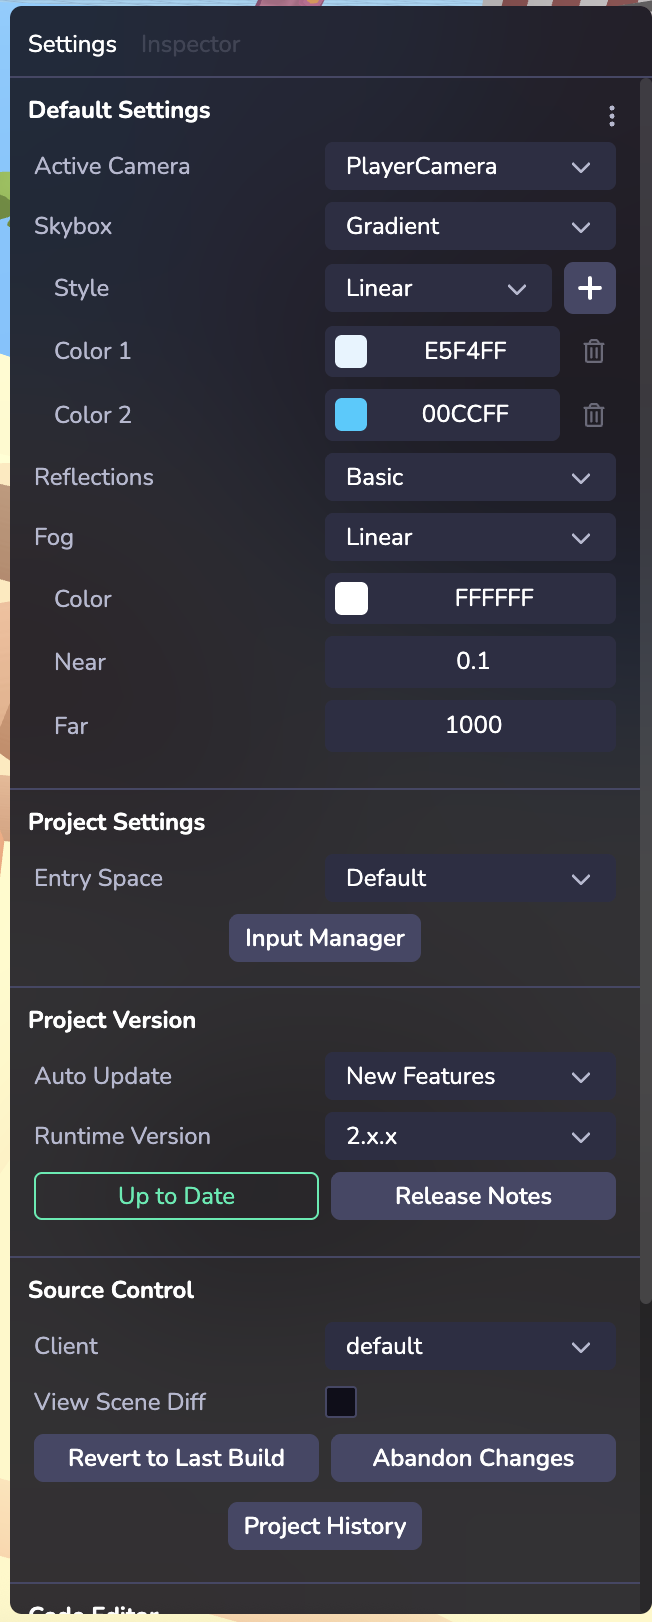
Default Settings
Style your Space with settings like Skybox and Fog. Skyboxes are a wrapper around your entire scene that shows what the world looks like beyond your geometry. If your project is configured to use AR on an AR-compatible device, (see XR) the Skybox will not be rendered.
Project Settings
If you have multiple Spaces, select which one is the entry space.
Use the Input Manager to set up experiences that work across different devices inputs like keyboards, gamepad controls, trackpads, and touch screen actions. Create your event action and set up a mapping (or binding) to different inputs. Learn more the Input system
Project Version
Studio projects can run on a specific runtime version, which can be selected here. Pin your project to a fixed runtime for predictability, or opt in to automatic minor updates and bug fixes to always stay current.
Source Control
Manage different versions of your project and change history. Creating a new client creates a new version of your project which can be helpful for testing changes without affecting your main version. You can also access a history of the project’s previous Landed changes by selecting the Project History function.
Code Editor
Choose from different usability settings like light/dark modes, keybindings, and code save settings.
Inspector
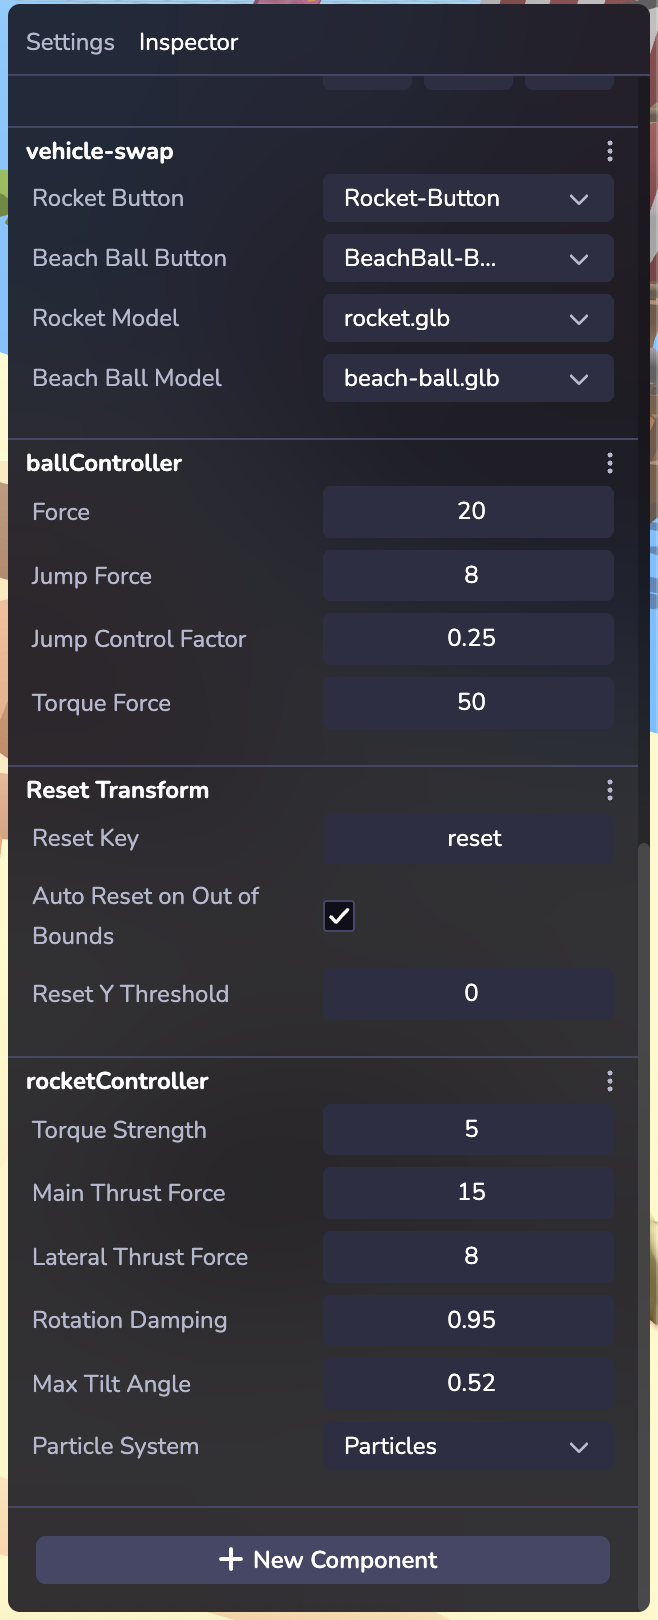
Inspect and configure an entity and its components. Learn more about entities and components in Overview.
By default every entity displays a Transform component in the Inspector. Different types of entities may display different components, for example a Primitive will display a Mesh component with configurable options like geometry shape settings, materials, textures, etc.
Components
You can add a component using the "+ New Component" button. There are several types of built-in components in Studio, including Physics, Lighting, Audio, Animations, and more. Custom components can also be added - Learn more about Custom Components. Once set up, your custom component will appear in the Custom category. Click the three dots to remove a component.
Devices & Console
Connect Device
Testing your project on multiple devices ensures that users will see a consistent experience across a variety of screen sizes and platforms.
Instantly preview projects on mobile, desktop, or headset device or in another browser window as you develop via link/QR code.
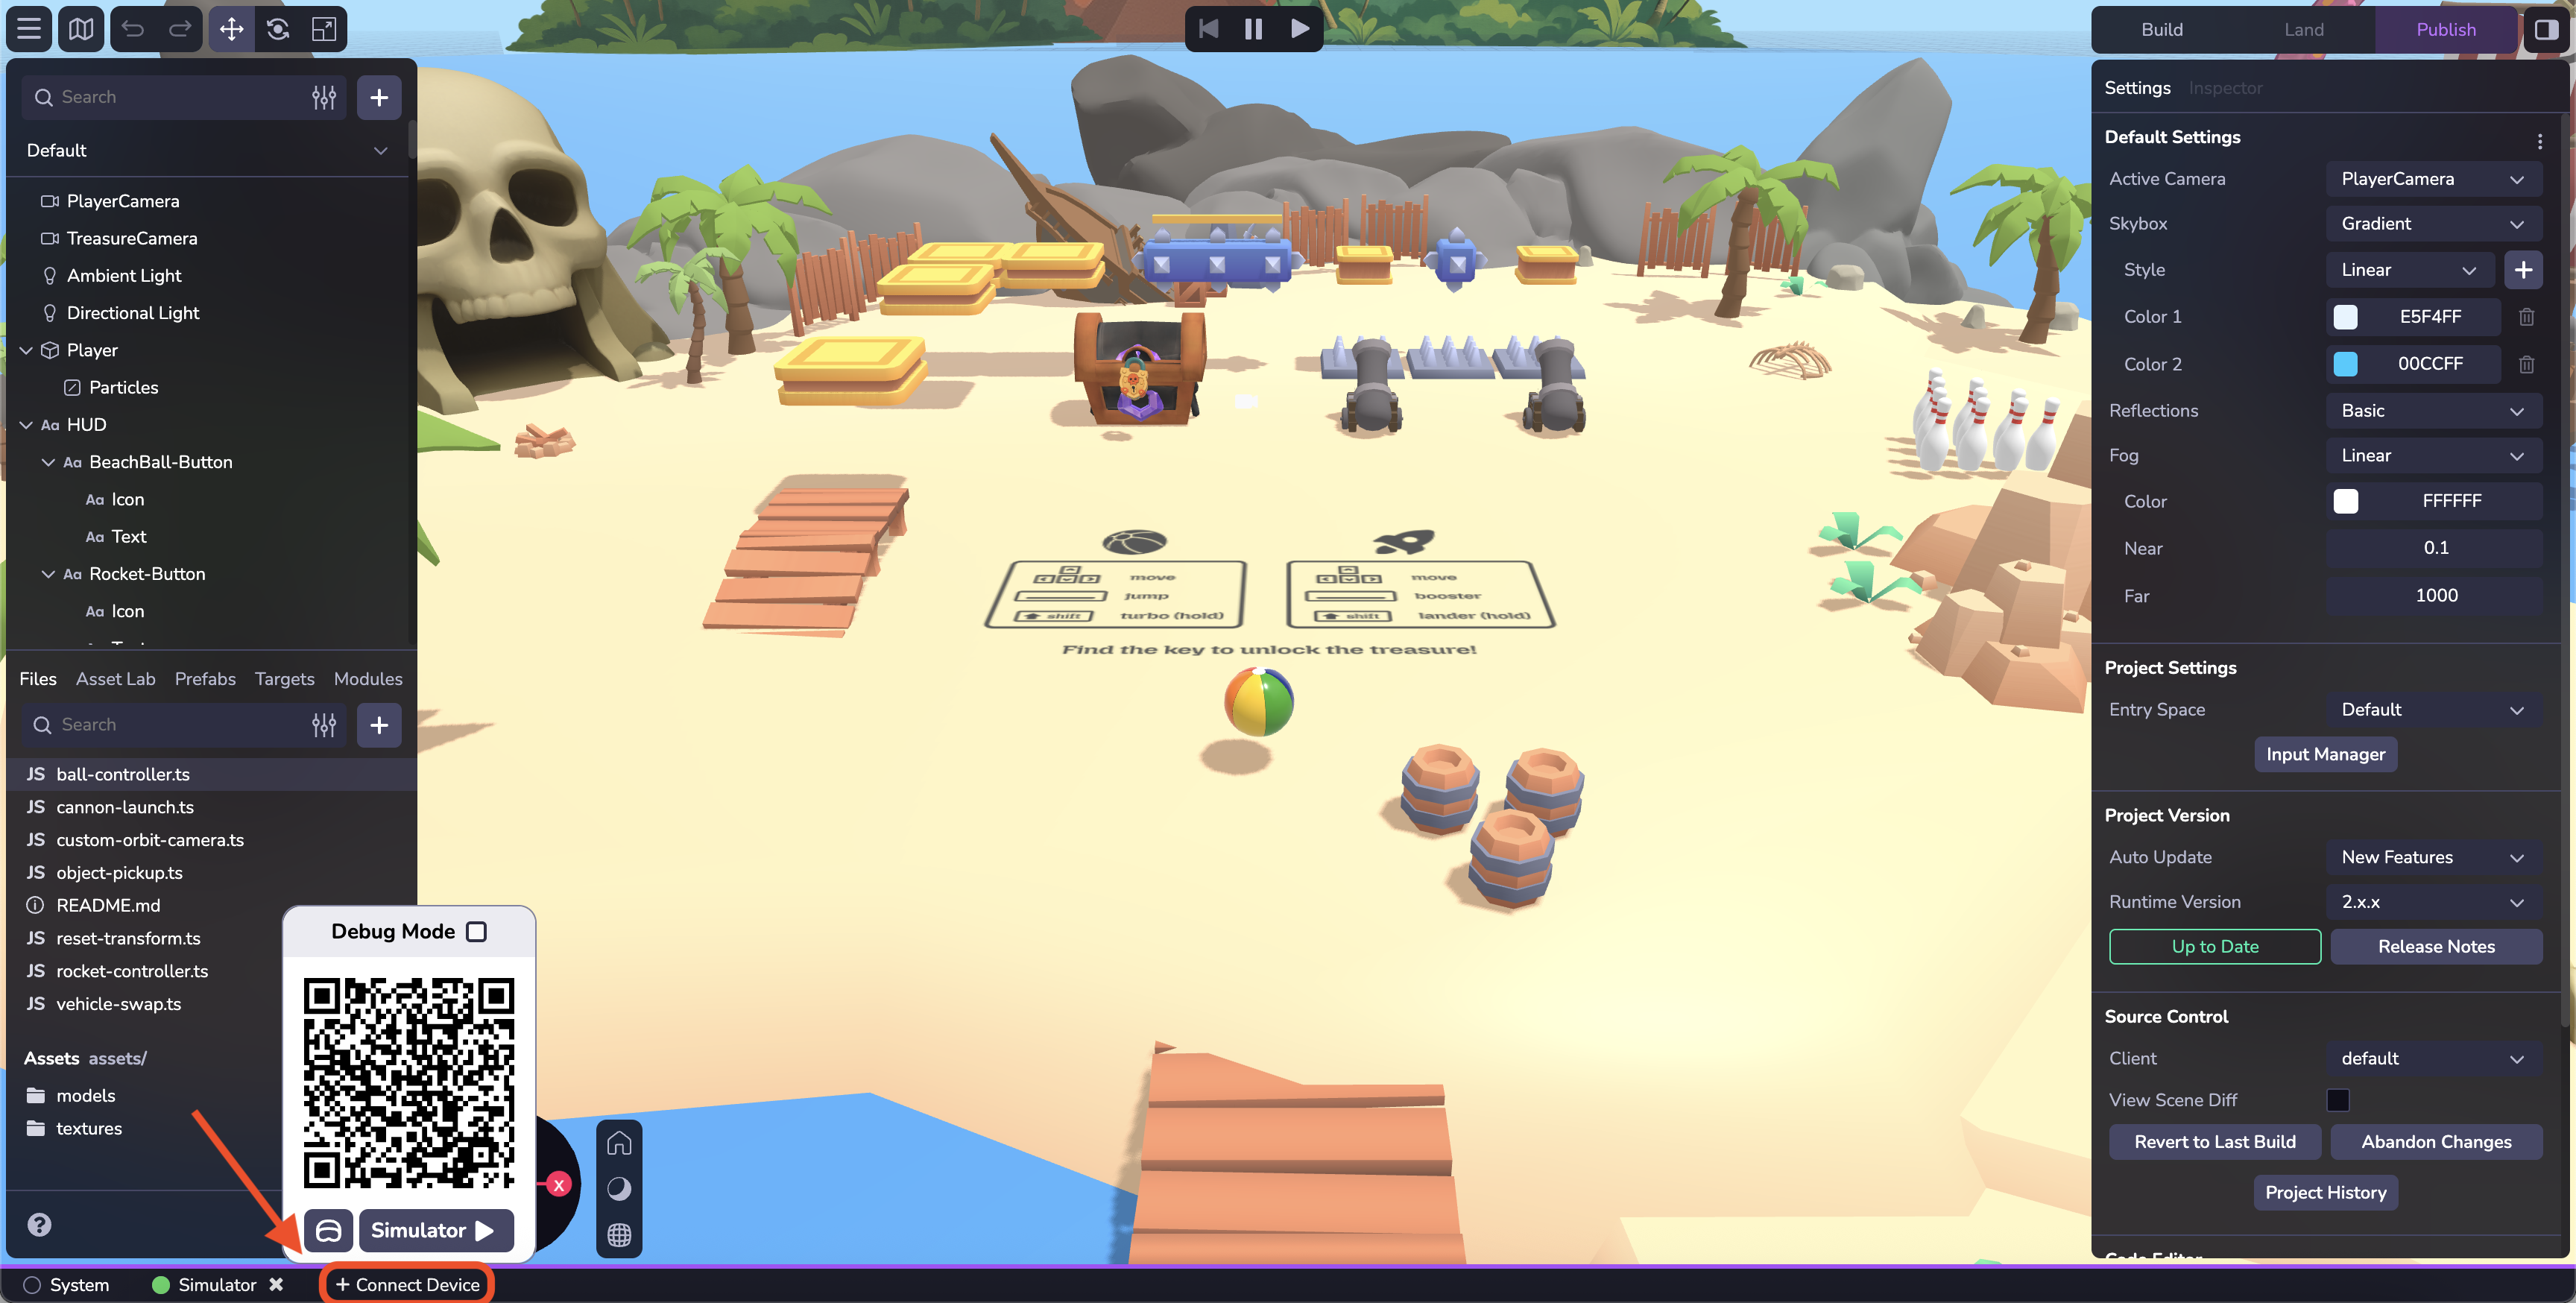
- At the bottom of the Studio interfact, click the Connect Device button.
- Scan the QR code with your mobile device to open a web browser and test your project. Or click on the QR code to open a new tab on your desktop browser.
- When the page loads, if your project uses WebAR, you'll be prompted for access to motion and orientation sensors (on some devices) and the camera (all devices). Click Allow for all permission prompts. You will be taken to the private development URL for the project.
- Note: The "Preview" QR code is a temporary, one-time use QR code only meant for use by the developer while actively developing in Studio. This QR code takes you to a private, development URL, and isn't accessible by others. To share your work with others, please see the section below on Publishing your project.
- Click the headset icon to generate a link for a headset device.
Console
Debug your project build actions and runtime. Debug Mode is an advanced Studio feature that provides logging, performance information, and enhanced visualizations directly on your device.
Code Editor
The 8th Wall Code Editor equips developers with a set of coding tools to create, collaborate and publish web-based XR content. Our powerful IDE includes the code editor, integrated source control, commit history, live preview, wireless remote debugging and push-button hosting on a global CDN. Other Code Editor features include:
- Intellisense
- Command Palette
- Code Peek
- Light/Dark Themes