Input
Introduction
This section explains how to set up inputs for your project. Inputs refer to the various methods through which users interact with the application. Currently, the supported input methods include touch, keyboard, mouse, and gamepad.
See world.input for api.
Input Manager
In Studio, there are Inputs and Actions - the Input Manager sets up the mapping in between them. An action is an abstraction over the source of input(s) it receives. They are most useful for representing input as "logical" concepts (e.g. "jump") rather than as "physical" inputs (e.g. "space bar on keyboard pressed").
Action Maps
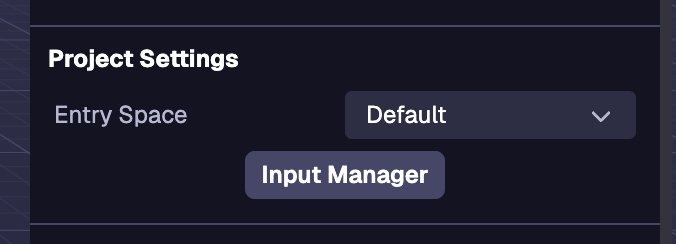
You can manage Action Maps via the Input Manager in the Space Settings (the default state of the Inspector when no entity is selected).
Adding an Action Map
Action Map are sets of actions that can be swapped programmatically. To create a new action map click on the action map dropdown then click on Create New Action Map. Then type in the name of the action map and save it. Action Maps can be renamed, duplicated, and deleted. The default action map can only be duplicated.
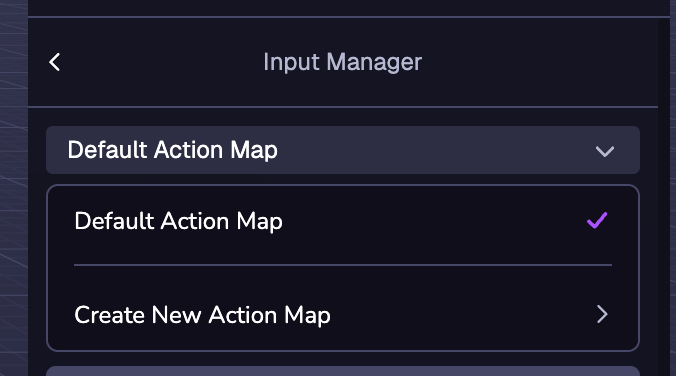
The currently selected Action Map is the Action Map that will be active by default.
Action Map Templates
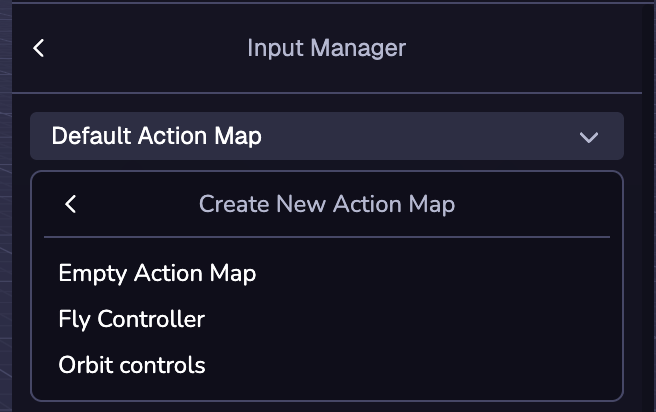
When Create New Action Map is selected, several action map templates will appear. The Fly Controller and Orbit Controls templates are used for their respective components.
Adding an Action
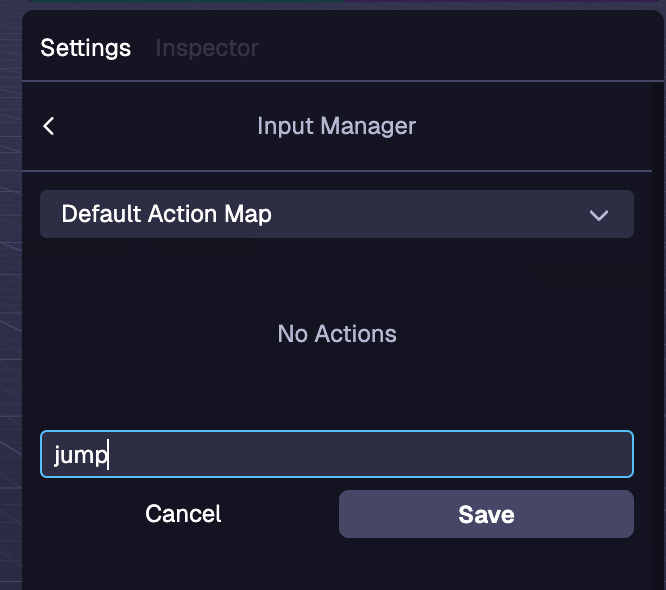
Actions are an abstraction layer to user inputs. To add a Action to the Action Map, click the (+) New Action button then type in the name for your Action.
Binding to an Action
Bindings are how inputs can be associated with an action. To add a binding click the Add Binding button and select the input you want to bind to the action in the dropdown. There are Bindings for many types of inputs including keyboard, mouse and gamepad. Multiple input bindings can be mapped to a single action. To delete a binding, click the trash bin next to the binding you want to delete.
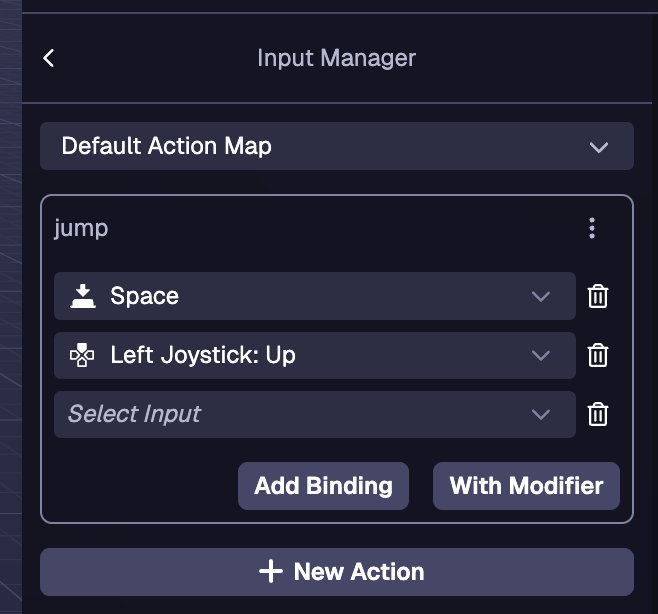
Action Modifiers
Modifiers are an additional input you can assign to a binding in order activate the action. To create a Binding with an modifier, click the With Modifier button. The modifier is selected with the first dropdown and the binding is selected with the second dropdown.

Examples
Detecting an action in tick
ecs.registerComponent({
  name: 'player-controller',
  tick: (world, component) => {
    if (world.input.getAction('jump')) {
      // Handle jump logic here
    }
  },
})
Detecting an action in a state machine
stateMachine: ({world, eid, schemaAttribute, dataAttribute}) => {
  ecs.defineState('default').initial().onTick(() => {
    if (world.input.getAction('jump')) {
      // Handle jump logic here
    }
  })
}
Switching between action maps
When setting a new action map, the new map does not get activated till the next tick.
In tick
tick: (world, component) => {
  if (world.input.getAction('menu')) {
    world.input.setActiveMap(world.input.getActiveMap() === 'player' ? 'menu' : 'player')
    return
  }
  if (world.input.getAction('jump')) {
    // Handle jump logic here
  }
}
In a state machine
stateMachine: ({world, eid, schemaAttribute, dataAttribute}) => {
  const switchMap = ecs.defineTrigger()

  ecs.defineState('default')
  .initial()
  .onEnter(() => {
    world.input.setActiveMap('player')
  })
  .onTick(() => {
    if (world.input.getAction('menu')) {
      switchMap.trigger()
      return
    }
    // Handle movement logic here
  }).onTrigger(switchMap, 'menu')

  ecs.defineState('menu').onEnter(() => {
        world.input.setActiveMap('menu')
  }).onTick(() => {
    if (world.input.getAction('menu')) {
      switchMap.trigger()
      return
    }
    // Handle menu logic here
  }).onTrigger(switchMap, 'default')
}