Western Memory
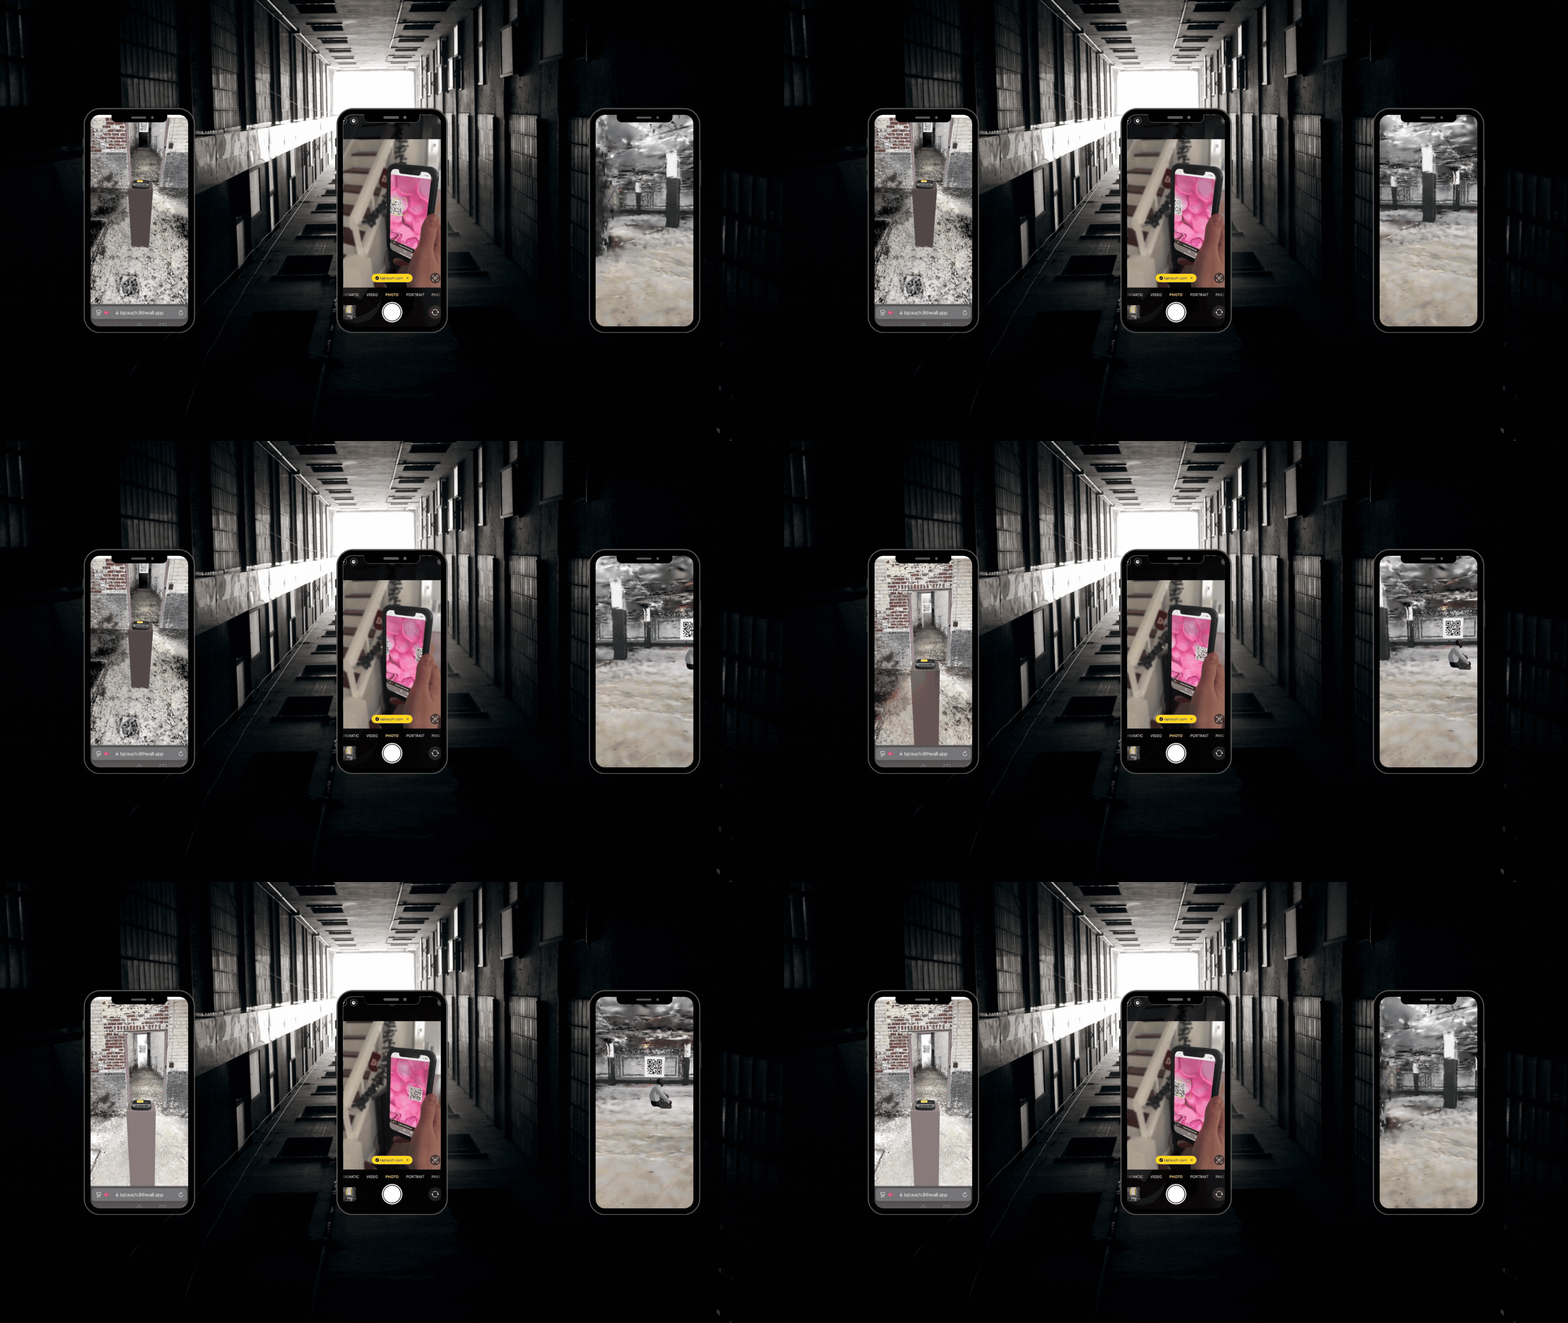
In this unique two-device game, players collaborate with a friend or stranger to navigate 3D-scanned environments, solve puzzles, and uncover the lore of a haunting digital world. With the use of QR code mechanics and Gaussian splats, Western Memory challenges players to think outside the screen while delving into a narrative-rich journey.

Make it your own with the sample project

Tap to Animate

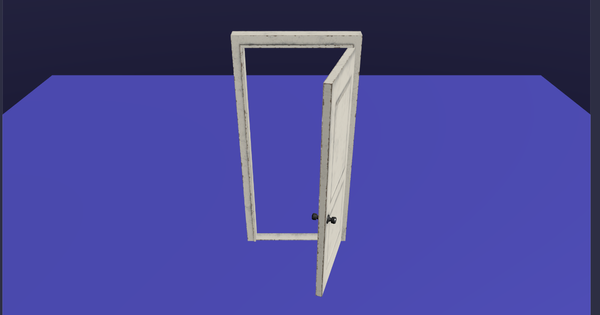
Learn how to add interactive elements that respond to player input, creating engaging and tactile gameplay.
View sample projectBehind the Build: Western Memory

Written by Taj Rauch
December 13, 2024
Introduction
This experience is a Web AR game created using Niantic Studio. The player is put into a liminal, gaussian splat scanned world where, upon finding QR codes embedded in the experience, they must collaborate with another person who has a phone to scan the code, and traverse forward.
There are 5 levels, with the final level having a QR portal that sends the player back to level 1, should they choose to uncover secrets they didn’t find the first time around.
Every level has different features of interaction which will be explored below. At the beginning of
the game, instructions are given to the player that read:
- Where you play must stretch wide around you.
- Certain elements can be touched or tapped to awaken them.
- Sound is key.
- Ever feel stuck? Try refreshing the page.
- No soul walks this path alone. Bring a friend... or perhaps a stranger.
Project Structure
The project structure between levels remains relatively consistent. There are two main features we take advantage of. One is the touchToAnimate component, which we use to allow players to interact with opening doors. The second is a customization on a boombox component, which allows players to interact with entities that play audio.
One of the other major aspects of the game is using QR codes to enable a multi-player dynamic. Since a player can’t scan the QR code on their own, they require a partner to load the next level up on their phone.
3D Scene
- Base Entities: We port in 3D assets used throughout different levels. Some of which are regular
.glbobjects, others are Gaussian Splat.spzmodels. This also includes Perspective AR camera and Ambient/Directional Lights. - UI Entities: We created a UI for the first level that walks a user through a start screen and through an initial tutorial.
Assets
- The 3D assets and
.spzmodels used are always located within the Assets directory
Scripts
- Scripts are usually placed in root due to time constraints. If there was more time we would nicely place each script into a well defined directory, but the main objective was to get out a polished experience.
Implementation
This walks through the main scripts for the core logic of the game.
touchToAnimate.ts
One of the major components we created ourselves was a touchToAnimate component. A massively detailed walkthrough of the script can be found README.md in the sample project for the component here. For brevity’s sake I will not paste the walkthrough here, as it can be found in the attached link.
This was a major component essential to the tactile feel of the game. It gives the player the sense of interacting with a world in an intuitive way.
boombox.ts
We made some minor customizations on the boombox.ts component that we found in another
Studio sample project. The way we use this allows for a player to interact with the level so as to initialize audio on touch.
import * as ecs from '@8thwall/ecs'
ecs.registerComponent({
  name: 'boombox',
  schema: {
    screenRef: ecs.eid,
    // @asset
    imagePlay: ecs.string,
    // @asset
    imagePause: ecs.string,
  },
  stateMachine: ({world, eid, schemaAttribute}) => {
    // Initially set audio to off so we let player explore the arena first.
    ecs.defineState('off')
      .onEnter(() => {
        console.log('off')
        ecs.Audio.mutate(world, eid, (cursor) => {
          cursor.paused = true
      	})
        ecs.Ui.mutate(world, schemaAttribute.get(eid).screenRef, (cursor) => {
      	  cursor.image = schemaAttribute.get(eid).imagePause
        })
      })
      .onEvent(ecs.input.SCREEN_TOUCH_START, 'on', {target: schemaAttribute.get(eid).screenRef})
      .initial()

    // Define on state after a touch has been registered.
    ecs.defineState('on')
      .onEnter(() => {
        console.log('on')
        ecs.Audio.mutate(world, eid, (cursor) => {
          cursor.paused = false
        })
        ecs.Ui.mutate(world, schemaAttribute.get(eid).screenRef, (cursor) => {
          cursor.image = schemaAttribute.get(eid).imagePlay
        })
      })
      .onEvent(ecs.input.SCREEN_TOUCH_START, 'off', {target: schemaAttribute.get(eid).screenRef})
  }
})
UI
We also developed some minor UI for the start and tutorial screens of the game. We utilized CSS and some event emissions in order to go from screen to screen.
To briefly illustrate the event based logic, first we have the startButton emit an event when it’s been touched:
// Add a click event listener to the start button
startButton.addEventListener('click', () => {
	console.info('Title screen clicked')
	// Uncomment this to stop audio after Title screen.
	// ecs.Audio.mutate(world, component.eid, (cursor) => {
		// cursor.paused = true
	// })
	world.events.dispatch(world.events.globalId, 'on-title-pressed') // Dispatches an event when the button is pressed

	backgroundContainer.classList.add('hidden') // Hides the background container
	buttonContainer.classList.add('hidden')
})
Then the tutorial screen picks up this event, and makes itself appear:
backgroundContainer.classList.add('hidden')
instructionButton.classList.add('hidden')
world.events.addListener(world.events.globalId, 'on-title-pressed', handleIntructions)

// Add a click event listener to the start button
instructionButton.addEventListener('click', () => {
	console.info('Instructions screen clicked')
	buttonContainer.classList.add('hidden') // Hides the button container
	backgroundContainer.classList.add('hidden') // Hides the background container
})
This gives the game a solid intro where we subconsciously register to the user the importance of exploring and touching objects within the game.
Portal
We wholesale recycle the portal.ts script from the Door Portal sample project so we can utilize our own gaussian splats within the game and, again, provide and experience where it feels like the player is exploring the world:
import * as ecs from '@8thwall/ecs'
const portalHiderController = ecs.registerComponent({
  name: 'portalHiderController',
  schema: {
    camera: ecs.eid, // Reference to the camera entity
    hiderWalls: ecs.eid, // Reference to the Hider Walls entity
    exitHider: ecs.eid, // Reference to the Exit Hider entity
  },
  tick: (world, component) => {
  	const {camera, hiderWalls, exitHider} = component.schema
  	if (!camera || !hiderWalls || !exitHider) {
  		console.warn('Camera, hider, or portalHider entity not set in portalHiderController')
  		return
  	}
  	// Get the camera's position
  	const cameraPosition = ecs.Position.get(world, camera)
  	const threshold = -0.1 // Adjust the threshold as needed
  	if (cameraPosition.z < threshold) {
  		ecs.Hidden.set(world, hiderWalls, {}) // Hide the Hider Walls
  		ecs.Hidden.remove(world, exitHider) // Show the Exit Hider
  	} else {
  		ecs.Hidden.remove(world, hiderWalls) // Show the Hider Walls
  		ecs.Hidden.set(world, exitHider, {}) // Hide the Exit Hider
  	}
  }
})
We allow the world to stay hidden when the player has not gone to a specific spot on the map.
Shaders and Video
We also take advantage of shaders in level 3 specifically. This allows us to import a video asset and play it on a plane to give the effect of a heart monitor on the floors and ceiling of the game:
add: (world, component) => {
  const {video, r, g, b, width, height, similarity, smoothness, spill} = component.schema
  if (video === '') {
    console.error('No video defined on chromakey component')
    return
  }
  const object3d = world.three.entityToObject.get(component.eid)
  const keyColor = new THREE.Color(`rgb(${r}, ${g}, ${b})`)
  const greenScreenMaterial = new ChromaKeyMaterial(video, keyColor, width, height, similarity, smoothness, spill)

  setTimeout(() => {
    object3d.material = greenScreenMaterial
  }, 0)
}
We create a ChromaKeyMaterial that sets all the appropriate parameters from the imported video so that it can be played out on the plane.
Other Scripts
We utilize a generic import script to import our CSS pages for our initial UI like so:
import './CSS/utilities.css'
import './CSS/title.css'
import './CSS/instructions.css'
const fontLink = document.createElement('link')
fontLink.href = 'https://fonts.googleapis.com/css2?family=Rubik+Mono+One'
fontLink.rel = 'stylesheet'
document.head.appendChild(fontLink)


