8th Wall Blog
Building Holiday Magic: Create a Santa Sleigh Adventure with Niantic Studio
Learn how to craft a festive real-world WebAR game with Niantic VPS!

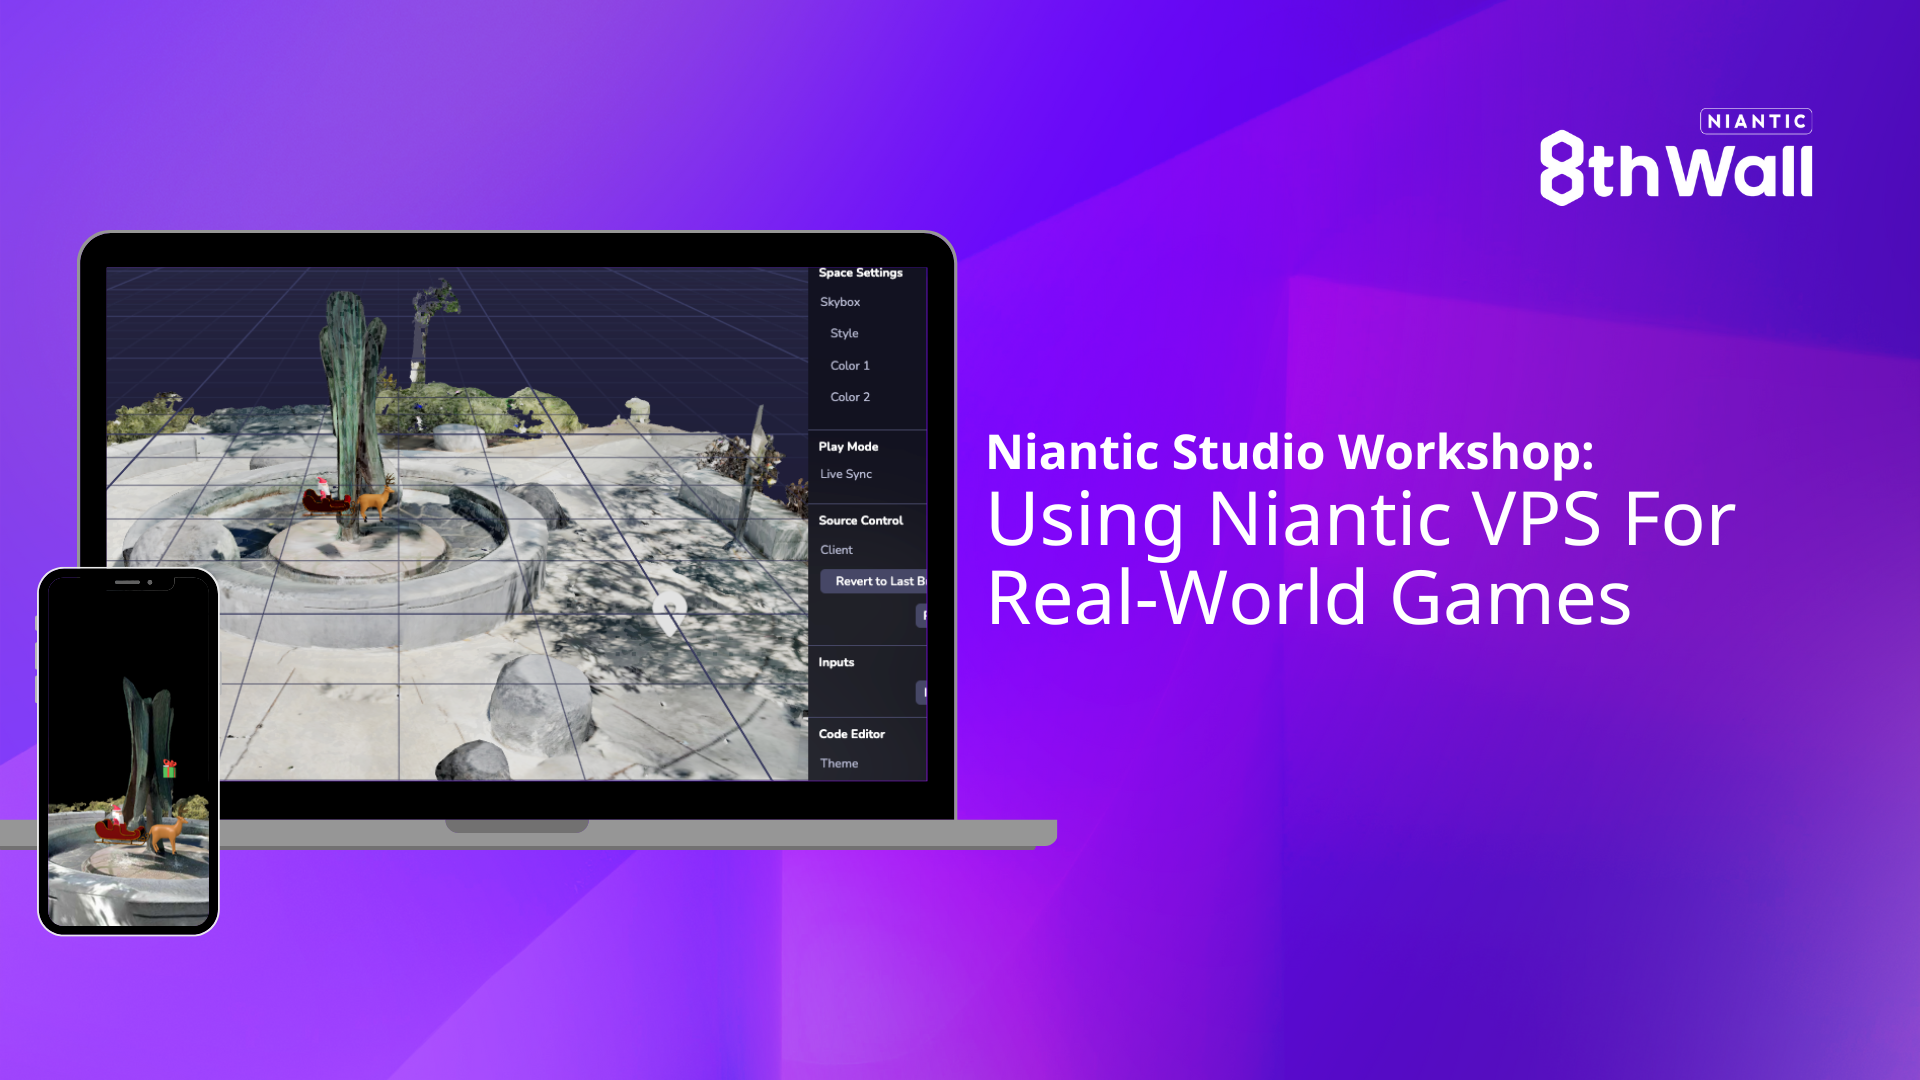
With the holiday season around the corner, it’s the perfect time to combine creativity and technology to spread some festive cheer! In a recent workshop led by George Butler, developers explored how to create real-world WebAR experiences using Niantic Visual Positioning System (VPS) in Niantic Studio. In this tutorial, we’re giving George’s original project a holiday twist. Instead of airplanes and coins, we’ll be building a delightful Santa sleigh game where Santa collects gifts while flying around a real-world location.
This step-by-step guide will walk you through the essentials of creating a VPS-enabled AR experience, complete with Santa’s sleigh, collectible gifts, and location-based interaction. By the end, you’ll have a festive game that captures the magic of the holidays. Let’s get started!
- Create a New Project
- Log into Niantic Studio and create a new project. Select "Studio" as your project type and provide a URL.
- Use "Demo Use" as your license.
- Choose the "Empty Project" template.
- Configure the Camera
- In the hierarchy, select the camera item.
- In the inspector, change the camera type to World to enable AR.
- Disable the desktop camera option and ensure Enable VPS is checked.
- Select a VPS Location
- Open the Geospatial Browser and find a location you’d like to use. For this tutorial, we’ll use the "California Avenue Fountain" (coordinates: 37.428995, -122.142552).
- Add the location to your project and close the Geospatial Browser.
- Set Up the Simulator
- In the simulator, set the scene to your selected location.
- Use the WASD keys to navigate the simulated environment, and select “Found” to simulate localization during testing.
Adding and Configuring Santa’s Sleigh
- Upload Assets:
- Download and upload the Santa Sleigh model(santa.glb) into your asset library.
- Download and upload the gift.glb into your asset library. - Place Santa’s Sleigh:
- Drag the sleigh model into the viewport.
- To ensure the sleigh appears only at your VPS location, make it a child of the location in the hierarchy. - Animate the Sleigh:
- Add an empty object to the hierarchy and name it "SantasSleigh."
- Center the empty object at the fountain and make the sleigh a child of this object.
- Scale the sleigh to 0.05 for a toy-like appearance. - Add Flying Animation:
- Add the Rotate Animation component to the "SantasSleigh" object.
- Configure it to rotate 360° on the Y-axis over 5 seconds.
- Build and test in the simulator, ensuring the sleigh moves as expected.
Gamifying with Gift Collection
- Prepare Santa’s Sleigh for Interaction
- Add a Physics Collider component to the sleigh to enable interaction. - Enable Flight Mechanics
- Copy and paste the provided `sleigh-controller.ts` code into a new component file named `sleigh-controller.ts`.
- Add this custom component to the sleigh.
- This component allows players to tap the screen to make the sleigh rise and release to descend. - Add Gift Collection
- Add a new empty object named “gifts” to the hierarchy. Make it a child of the location.
- Copy the `gift-spawner.ts` code into a new component file.
- Add this custom component to the "gifts" object.
- Align the gifts’ position with the sleigh’s path for a seamless collection.
Polishing the Experience
- Add Occlusion for Realism
- Download the low-poly or no-texture mesh for your location from the inspector.
- Upload and position this mesh as a child of the location in the hierarchy.
- Set its material type to Hider to ensure objects like the sleigh are hidden when behind the fountain.
- Additional Elements to Enhance Gameplay
- Add a timer and scoring system to track progress.
- Introduce festive elements like falling snow, holiday music, or additional decorations anchored to the location.
Build, Test, and Share!
Once your project is complete, test it in the simulator to ensure smooth gameplay. When you’re ready, deploy it and share your festive game with the world! With Niantic Studio and VPS, you’ve created a holiday-themed AR adventure that’s sure to delight players and spread holiday cheer.
.png)