8th Wall Blog
How to create a WebAR Hologram project using Depthkit Cinema
Capture your own volumetric videos for an immersive WebAR experience

Depthkit Cinema software allows you to capture high resolution volumetric videos from anywhere. When paired with 8th Wall, you can create a WebAR experience that works on all devices, no app needed. Here’s how:
Step 1. Capture a Volumetric Video Using Depthkit Cinema
Follow Depthkit’s step-by-step tutorial below and make sure to export as Combined Per Pixel Video which will produce a .txt file and .mp4 file. These files are what you will need for your 8th Wall project.
Step 2. Clone one of these sample projects from 8th Wall
Clone either the A-Frame project or the three.js project to get started. If you don’t already have an 8th Wall account, you’ll be prompted to sign up for a 14-day free trial.

Step 3. Import Depthkit Files Into 8th Wall
In 8th Wall, open your cloned project then drag and drop the Depthkit files into the Cloud Editor. The .txt file should drop into the capture-data folder and the .mp4 should drop into the assets/captures folder.

Step 4. Reference Assets
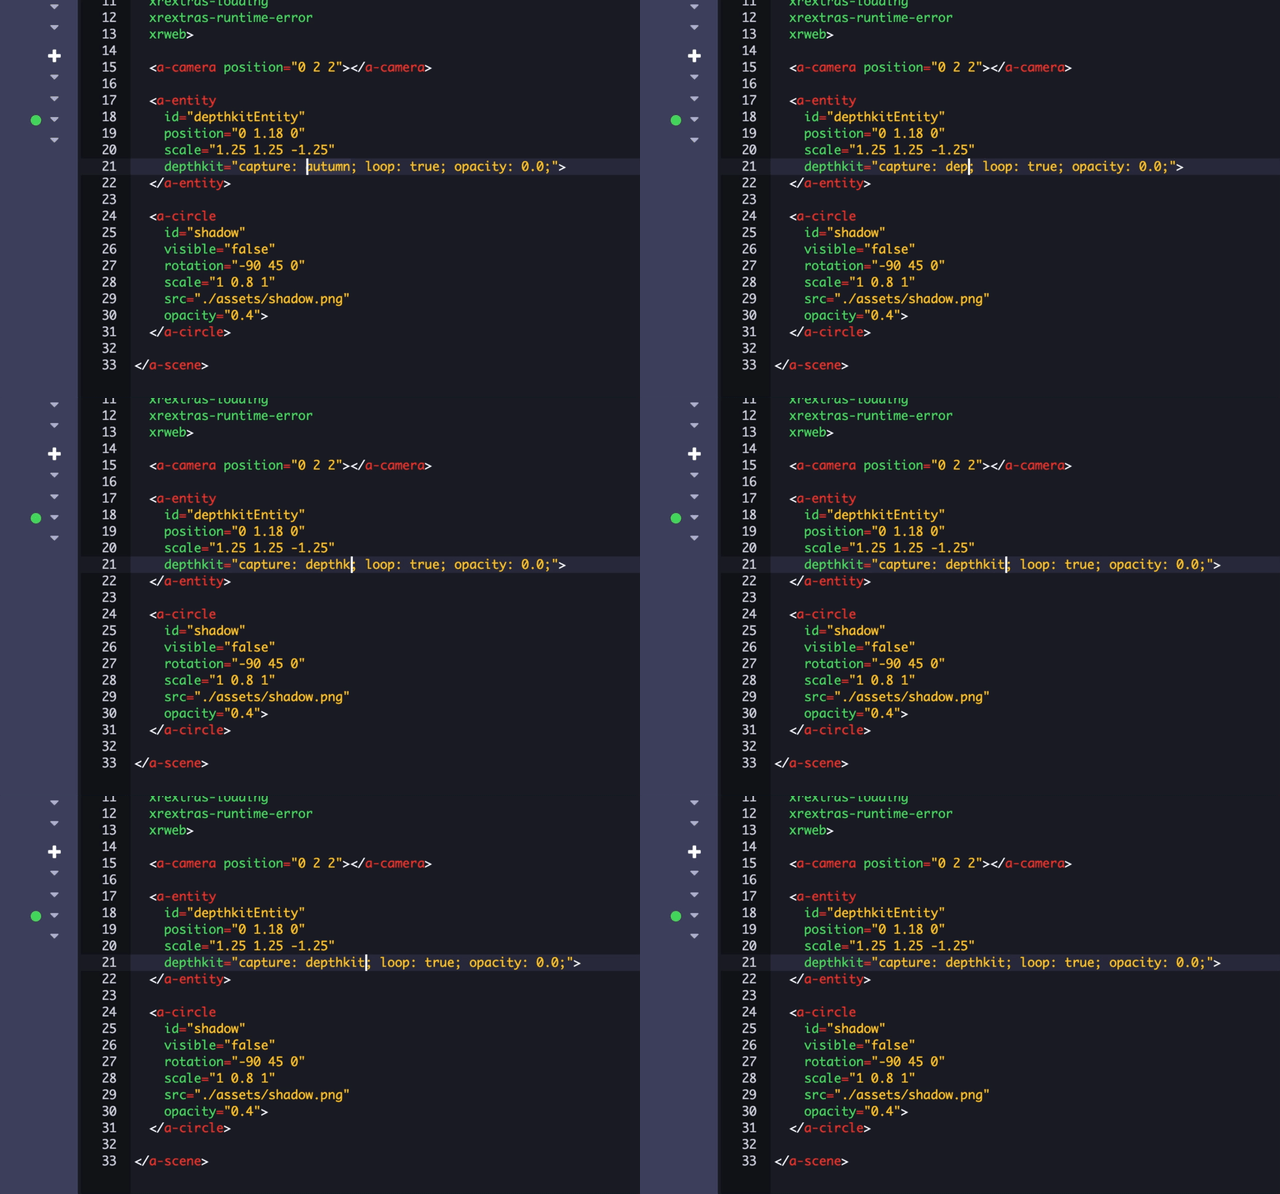
In your <a-scene>, reference the Depthkit capture name in the capture parameter from within the depthkit component. This assumes your .txt and .mp4 share the same name (i.e. autumn in the example).

Step 5. Test and publish
Once you Save + Build, you can preview your project by scanning the QR code at the top with a smartphone or tablet. If everything looks good, you’re ready to publish.
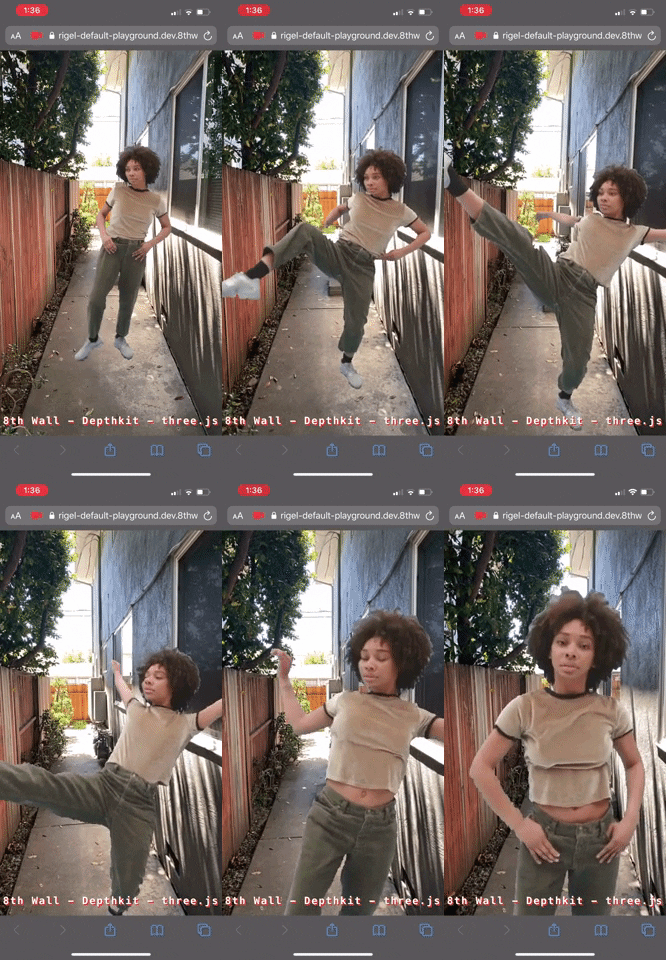
And just like that, you’ve created your first WebAR hologram using Depthkit Cinema and 8th Wall! 🎉
* * *
Share a photo or video of your hologram project on Twitter tagging @the8thwall and @depthkit 📸 We can’t wait to see what you create!
.png)